If I were to ask “what is one thing that every tile installation needs?” I would get answers like
- Tile
- Mortar
- Trowel
- Patience
Nobody would answer with “Movement Joints”. Nobody. Most people wouldn’t understand what they are. And installing them sounds like it would be technical and complicated.
Estimated reading time: 7 minutes
Good news! The majority of movement joints aren’t technical or complicated. In fact, you may have installed them without knowing it.
This post will discuss what movement joints are in the world of tile and how to install them. But first:
Frequently Asked Questions About Tile Movement Joints
(By the way, nobody frequently asks any of these)
- I’m tiling a small floor. Do I need movement joints? Yes!
- I’m using Ditra which is an uncoupling mat. Do I need movement joints? Yes!
- I’m tiling over cement board. Do I need movement joints? Yes!
- My concrete floor doesn’t have expansion joints. Do I still need them? Yes!
- I’m not tiling over a concrete floor. Do I need movement joints? Yes!
- I’m tiling shower walls. Do I need movement joints? Yes!
- Is a movement joint the same as an expansion joint? No
- Is it the same as a control joint? No
What are movement joints?
Also known as soft joints. Simply put- a movement joint is a gap, or space, next to a tile that lets a tile floor move a bit. There are two kinds of movement joints: perimeter and field.
Perimeter movement
These are the kind that every tile installation should have. When you place a tile next to a wall it should have a gap between it and the wall.
That’s a perimeter joint.
There should be a gap around the entire floor (or wall). Typically this gap doesn’t get filled with anything. Typically it’s covered by baseboards around the room.
If you are butting up to another hard surface- like hardwood floors- then there should be a small gap between the tile and the hardwood. Then you will fill the gap with 100% silicone sealant. More on caulk vs silicone.
I know in some areas of the US that it’s a common practice to fill the perimeter gap with grout up to the wall and not have any baseboards. This is wrong and it’s not a good idea.
If you fill the gap with grout then you no longer have a space for movement. You then expose your tile floor to the danger of cracks and loose tiles.
Movement in the field
A field joint is usually a grout joint that is left ungrouted.
Usually, it gets filled with a flexible sealant that matches the grout color so that you don’t even see the movement joint. This ungrouted grout joint would have to extend from wall to wall to be effective.
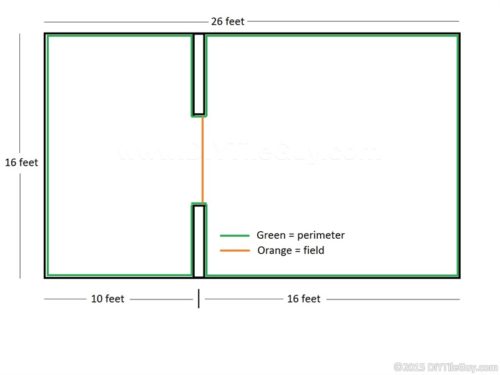
In the drawing above I’ve drawn in the movement joints. The green color is the perimeter movement and the orange color is the joint in the field.
A common tactic is to place them in doorways (if it works out) so that they are as short as possible.
Where to place the field movement joints
Here are the industry standards for movement joints (ej171). They need to be placed:
- Around the perimeter: Always
- Indoors: Every 20-25 feet
- Outdoors or in direct sunlight: Every 8-12 feet
So if you are just tiling a small bathroom floor then you just need to make sure that you leave a gap around the perimeter of no less than 1/4 inch.
But if you have a floor that is 20ft by 30 ft. then you’ll need to break up the 30-foot run into two smaller sections that will be able to move and flex.
Keep in mind that direct sunlight is an interior area in the sun. So a sunroom needs movement joints more frequently than a normal interior.
But also if you have an area with French doors or a slider this can also be an area that is in direct sunlight.
How to install movement joints in tile floors
So we’ve covered what movement joints are, why they are important, and where to put them. So here’s how to install them in the field. Additionally, this is the same process used to create capillary breaks for curbless showers.
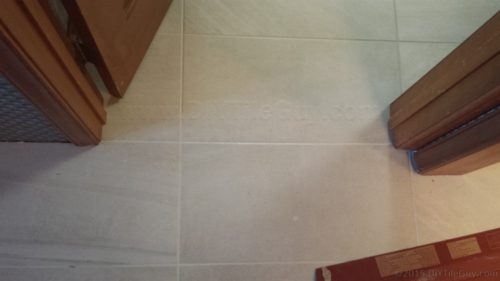
You need to leave yourself a gap that is ungrouted. This space needs to be clean down to the substrate. So you don’t want thinset or anything else in the joint.
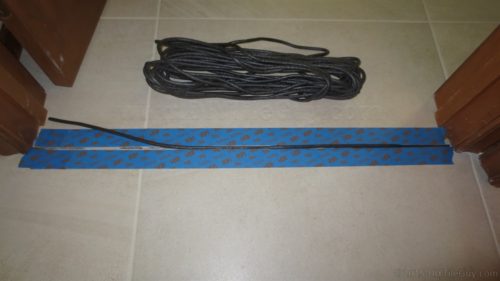
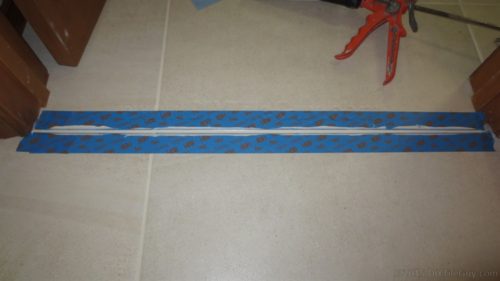
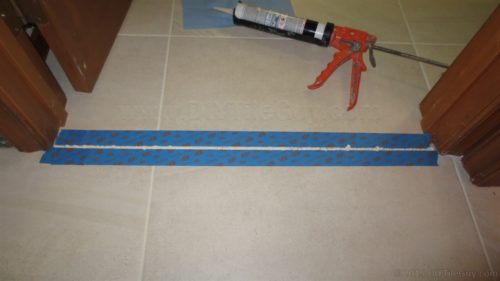
Next tape off both sides of the joint. You are going to be caulking this joint so it can get messy. The tape will keep the clean-up simple.
Backer Rod
Take some backer rod and stuff it in the joint. Backer rod is a stringy foam product. Typically it’s found in the door/window/insulation section at the big box store.
I use 1/4 inch which works for most tile applications but it does come in bigger thicker sizes.
Why use backer rod? Because it helps the performance of the joint. There is a reason and science behind why the backer rod is helpful but I want to keep this simple so I’ll leave it for another post.
Make sure you stuff the foam down so that it doesn’t stick up out of the joint.
Sealant for movement joints
You can use either 100% silicone sealant or another sealant meeting ANSI c-920 to fill these movement joints. The urethane sealants that qualify are heavier duty but trying to find colors that match the grout can be difficult.
For this reason, I prefer the 100% silicones that are color-matched to the grout. You are supposed to use silicone that meets Shore A hardness.
Custom Building Products 100% silicone caulk meets this requirement and comes in several colors. It’s even available at Home Depot in select colors.
However, not all manufacturer’s color-matched silicones meet this requirement.
Apply the sealant to the joint and tool it down. You can use a specialized caulking tool or just use your finger. I wipe the excess off on a paper towel. You can now remove the tape on both sides and dispose.
For the final step, I use a bit of denatured alcohol (found in the paint section with paint thinner, mineral spirits, etc).
Just a few drops on the movement joint will help smooth out any unevenness from removing the tape. You can also put some on a rag to clean and detail around the joint.
More information, including a video, on how to install 100% silicone sealant.
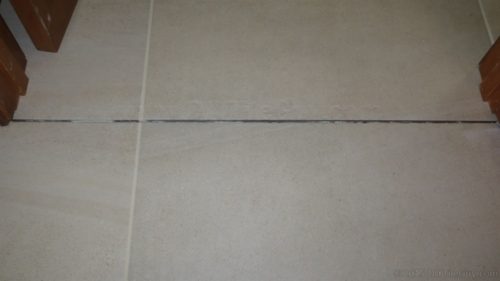
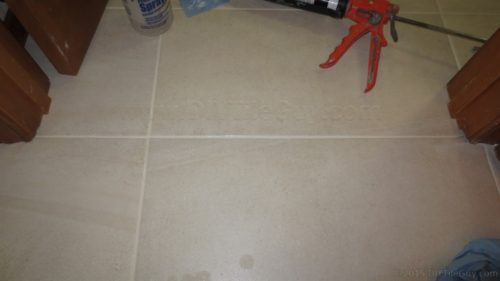
You can notice just a little bit of a different sheen to it in the photo below but most people would never know unless it was pointed out to them.
Profiles
If you don’t want to mess with caulking the joints they also make profiles that get installed as you set the tile. It’s a little different look- more commercial- but can look good in the right application.
The importance of movement joints I don’t feel is well known. However, installing them with every floor and wall installation can help prevent hard to identify problems and issues down the road.
