Curbless showers are extremely popular these days and it’s not just for accessibility reasons.
But a shower with no curb has some unique design considerations that a normal walk-in shower does not. This post covers six different pitfalls that you need to know about before you build a barrier-free shower.
Estimated reading time: 7 minutes
Pitfall #1: Recessing a Curbless Shower
A shower floor is thicker than a normal floor. This provides for the slope of the floor and makes sure the water is directed to a drain.
So how do you get the shower portion of the floor so that it’s even with the rest of the floor?
Recessing Concrete
If you are on the ground level and have a concrete subfloor, someone will have to jack-hammer out the shower area and pour a new, lower concrete slab.
This isn’t the most pleasant task but it’s doable. However, if you have a pre-tensioned or post-tensioned slab then this could be a problem. [3] But an old basement is likely to be just concrete.
Cutting floor joists for a zero-entry shower
However, if you have a wood-framed floor things get more complicated. Wood-framed floors have a basement or a crawl space underneath or they are located on the upper levels of a home.
As you may have guessed, you can’t just go around haphazardly cutting floor joists to lower your floor. These floor joists are an important part of the structure of your home.
You’re probably going to need to get an engineer involved for this step to make sure that you recess things in a smart and safe manner.
Prefabricated curbless shower pans
However, there is another option. You might consider using a prefabricated shower pan that doesn’t require cutting any floor joists.
I’ll go into greater detail on this in a future post, but these prefabricated curbless shower pans do have limits.
Further, these barrier-free shower pans are made from XPS foam or sometimes a stiffer composite material and are designed to be tiled over and sit flush with the neighboring flooring.
Mostly, you will find these zero-entry prefabricated shower pans with center bonding flange drains but there are some with linear drain options also.
Pitfall #2: Linear Drain at the Entrance of a Barrier-Free Shower
One design that a lot of people consider when installing a zero-entry shower is to put a linear drain at the entrance of the shower.
See my review of the Noble Freestyle Linear Drain.
Usually that people that are considering this are contemplating using a prefabricated shower floor for curbless showers.
Remember that I said that these types of shower pans have limitations? Well, installing a line drain at the shower’s entrance is one way around the limits.
However, be advised that water running down to the drain can, in some cases, run right over and past the entrance without draining. This can make a big mess and the solution is not always simple.
Secondary Drains
When building a curbless shower, one of the considerations in the TCNA Handbook is to add a secondary drain outside the shower. [1]
Now, I can imagine this idea won’t go over well with a residential shower renovation. But water escaping the shower is a very real possibility, especially with a drain at the entrance.
It’s best, from a water-management perspective, if you can design your curbless shower for an alternative drain location. However, there are some that will still want to locate the drain at the entrance.
Pitfall #3: No Shower door
Now, I know that many people envision their barrier-free showers with no door. Further, there are definite advantages to not having the swing of a door to contend with.
A shower door with a sweep seal can be a big help in keeping water inside the curbless wet area.
It may not be completely water-tight but it can greatly help collect the majority of water before it runs out onto the rest of the bath floor.
Further, a doorless walk-in shower can be quite cold to shower in.
Pitfall #4: The Shower Mat
Usually, you don’t think about the shower mat until after the glass is installed. Consequently, once the enclosure is installed it’s too late to change anything.
But readers of this blog will know that if a door with a sweep is installed that it will be impossible to have a shower mat immediately outside the shower entrance.
So, you could choose to not install the sweep if you are confident that water won’t escape. Alternatively, this may be an argument against installing the shower door.
Pitfall #5: Tile Slipperiness
It should be no surprise to anyone that tile can be slippery, especially when wet.
When selecting tile for a shower, you’ll want to choose small mosaic tiles that have lots of grout joints because this help with traction.
Alternatively, larger tiles are also a popular choice. But you will want to make sure that you don’t get tiles that are too slippery.
Consequently, when choosing large format tiles for a curbless shower you want to look for tiles with a Dynamic Coefficient of Friction rating of 0.42 or better. [2] The larger the number the better the slip resistance.
Further, I recommend against purchasing natural stone such as marble tile for a shower floor simply for maintenance reasons.
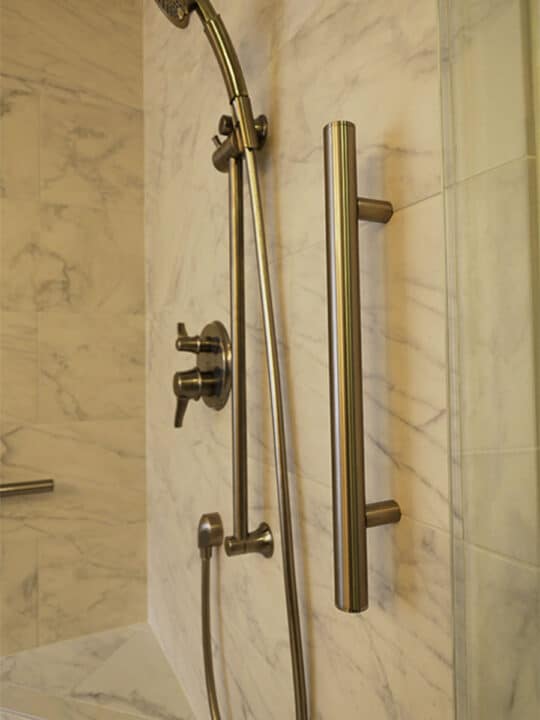
Pitfall #6: Grab bars
If the reason for creating a curbless shower is accessibility reasons then you will likely be installing grab bars in the shower to help with balance.
If so, this is another factor that plays into whether to have a shower door or not.
Two things to consider are:
- Grab bars may limit the swing of a shower door
- Grab bars may not be accessible if a shower door is in front of them
In other words, it makes no sense to put a grab bar at the entrance of a shower if the door is going to block it when entering the shower.
Additionally, you’ll want to make sure to plan your grab bars in advance by installing additional framing behind the tile walls. This will help add holding strength for the grab bars.
Make sure to add the blocking and clearly mark where it is with measurements and photographs so there will be no confusion when drilling through the tile to install them.
Are Curbless Showers more Expensive?
It should go without mentioning that a curbless shower is going to cost more than a typical curbed shower.
The reason for this is:
- Modifications will need to be made to the floor
- The possible cost of a prefabricated pan for curbless shower floors
The amount will vary, but you’re going to want to budget at least an additional 20% to the cost of your shower. Possibly more.
No-Curb Showers Look cool!
One of the great plusses of a curbless shower is that they look great!
It’s no wonder that barrier-free showers are one of the most popular bathroom trends. It’s not just accessibility that’s driving their popularity. Having no curb lends itself to a very clean design.
Frequently Asked Questions about Curbless Showers
Curbless showers shouldn’t leak especially if a flood test was conducted when it was being built. However, there are scenarios that make it more likely that water can escape past the entrance.
Using the right waterproofing products and a good deal of planning can go a long way to making your curbless shower experience a satisfying one.
A well-designed and well-installed curbless shower will not let water escape past the entrance.
References
- Tile Council of North America Handbook for Ceramic, Glass, and Stone Tile Installation
- Daltile DCOF chart
- Concrete Construction: pre and post-tensioned concrete
