A kitchen splash is a great DIY tile project. But backsplash tile layouts can be a challenge. For example:
- Where do you start?
- How do you do the corners?
- How high do you go?
- Where do you stop?
What you are going to find out is that there aren’t a lot of rigid, hard-and-fast rules. Instead, there are a lot of principles and guidelines but ultimately you will use your judgment.
Let’s jump in.
Estimated reading time: 12 minutes
Where do you Start Laying out a Backsplash?
If someone asks me this question my response is:
“Good question! What is the focal point of your kitchen?”
In my opinion, it’s all about focal points.
Focal Points
Common focal points in a kitchen include:
- Behind the stove
- Up and over a window, sometimes
- Behind the sink
- The center of a wall
- Maybe the end of a wall
Behind the stove
Behind the stove is usually the focal point in bigger kitchens where the stove is on a wall and there’s a hood above it.
This is a common focal point and you’ll want to center your kitchen backsplash tile layout in this space.
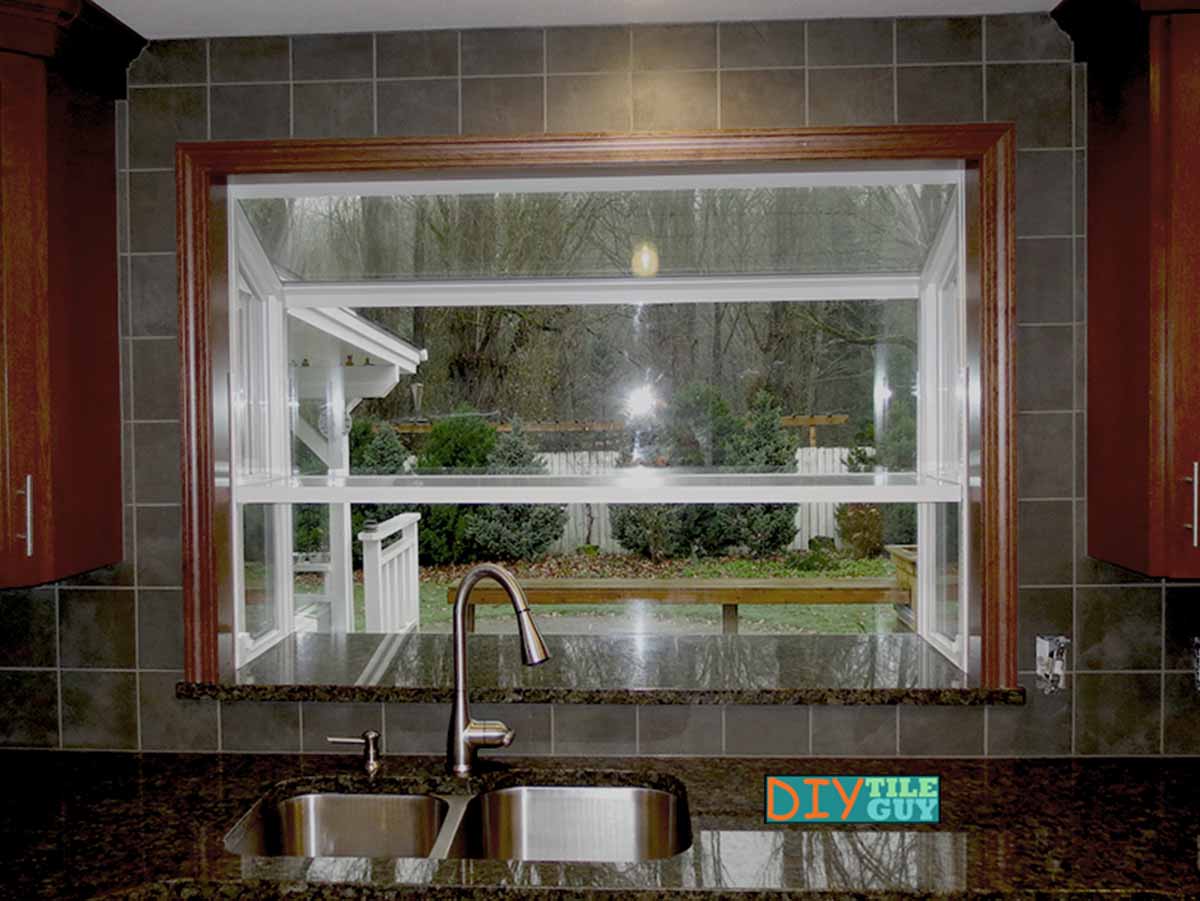
Up and over a window
Taking the tile backsplash to the ceiling is a more recent trend.
If your sink is centered on the window and the window is a focal point in the kitchen then you may want to center your tile layout on the sink/window if you are going up to the ceiling with the tile.
Behind the sink
This is more common with bathroom backsplash layouts where the tile goes from the countertop to the ceiling.
As a result, if the sink is the focal point then that’s where you want to center things.
Center of a wall
A lot of times you will have areas of a kitchen or, perhaps a laundry room, where you are tiling 3 walls of a countertop; the back and two sides. In this case, it’s almost always correct to center the back wall.
End of a wall
Some kitchens, or areas of kitchens, don’t really have a focal point. If this is the case, you may choose to start at one end with full tile and tile to the other end.
When not everything is centered
A common, real-world scenario that you’ll run into is that you’ve decided to center your layout and when you start measuring you then realize that everything is just ‘off’ slightly.
Or, that there are multiple “centers”.
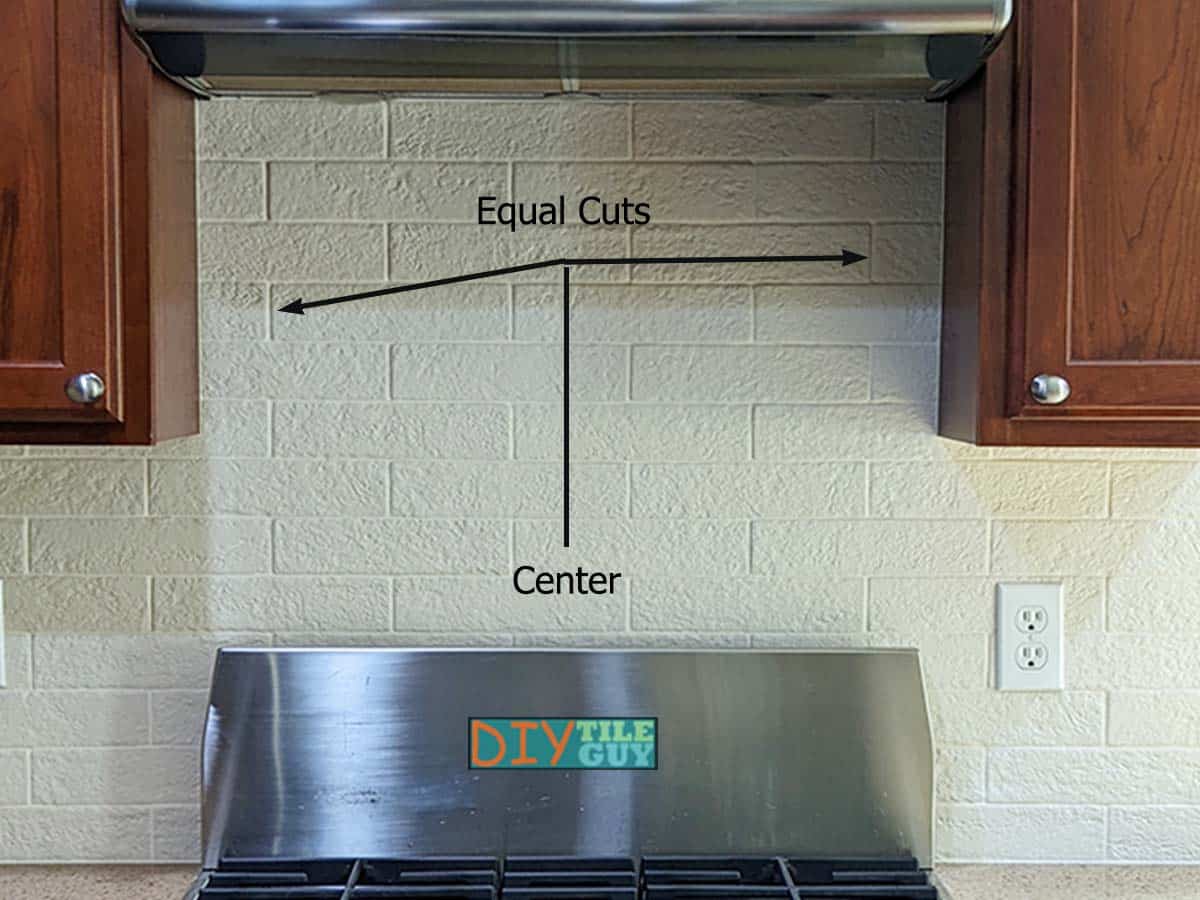
A pretty common example of this is when you are tiling behind the stove. What you find is:
- The center between the cabinets is different than
- The center of the hood, which is different than
- The center of the stove.
What do you do in this case?
Pick your center
In this case, I tend to favor centering between the cabinets because the tile cuts will be visible on each side next to the upper cabinets.
If they are different sizes then that tends to be noticeable. However, you can usually cheat them up to 1/8 inch and the different sizes won’t be noticeable.
The reason that you would do this is to shift your layout in one direction and split the difference with any other measurements that are ‘off’ center.
Alternate center
If you find that centering your tile, behind the stove, or anywhere, leaves you with little cuts then you will want to consider a quartering tile layout.
This works with offset tile patterns like subway tile and 12×24 tiles. There is more than one way to lay these tiles out and still have them centered.
Full off of the countertop
Now that we’ve talked about how to start a tile layout from left to right on a wall, what about top-to-bottom? Where do you start your backsplash tile layout in this case?
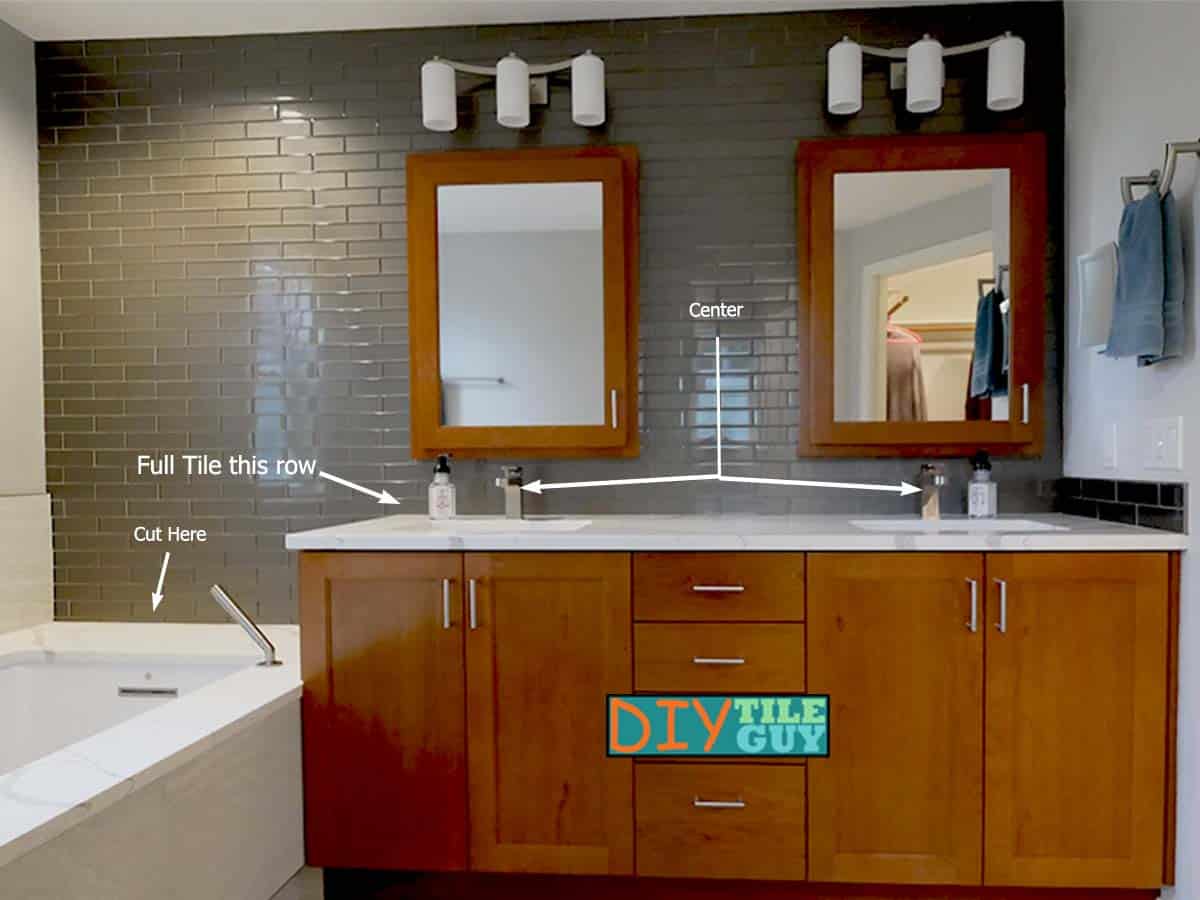
It’s almost always correct to start with a full tile off the top of the countertop.
So, if you are putting in a subway tile kitchen backsplash then you will start your tile pattern with a full row at the bottom and cut the top of it in underneath the cabinets.
If you have two different countertop heights then you would have whole tiles at the main height and drop the tiles down to the alternate height. Likely, these would need to be cut at the bottom.
Hexagon tiles and other odd shapes
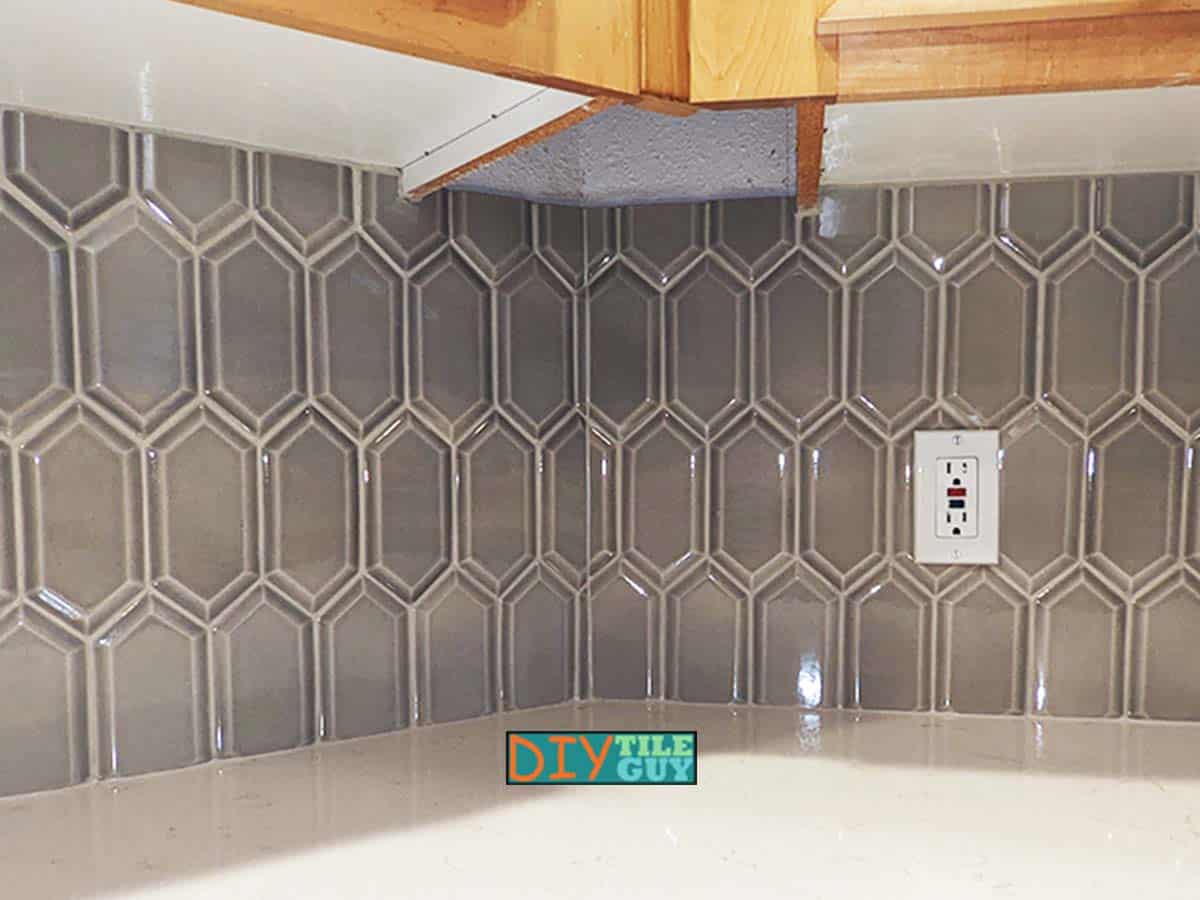
If you are using something besides square or rectangular tile then you’ll need to cut the bottom of the tile flat prior to beginning.
For example, if you are installing the points up with hex tiles then you’ll want to cut the bottom point off so that the tile will start out flat off the top of the countertop.
I outline a similar technique when getting started with herringbone tile patterns.
How to Tile the Inside Corners
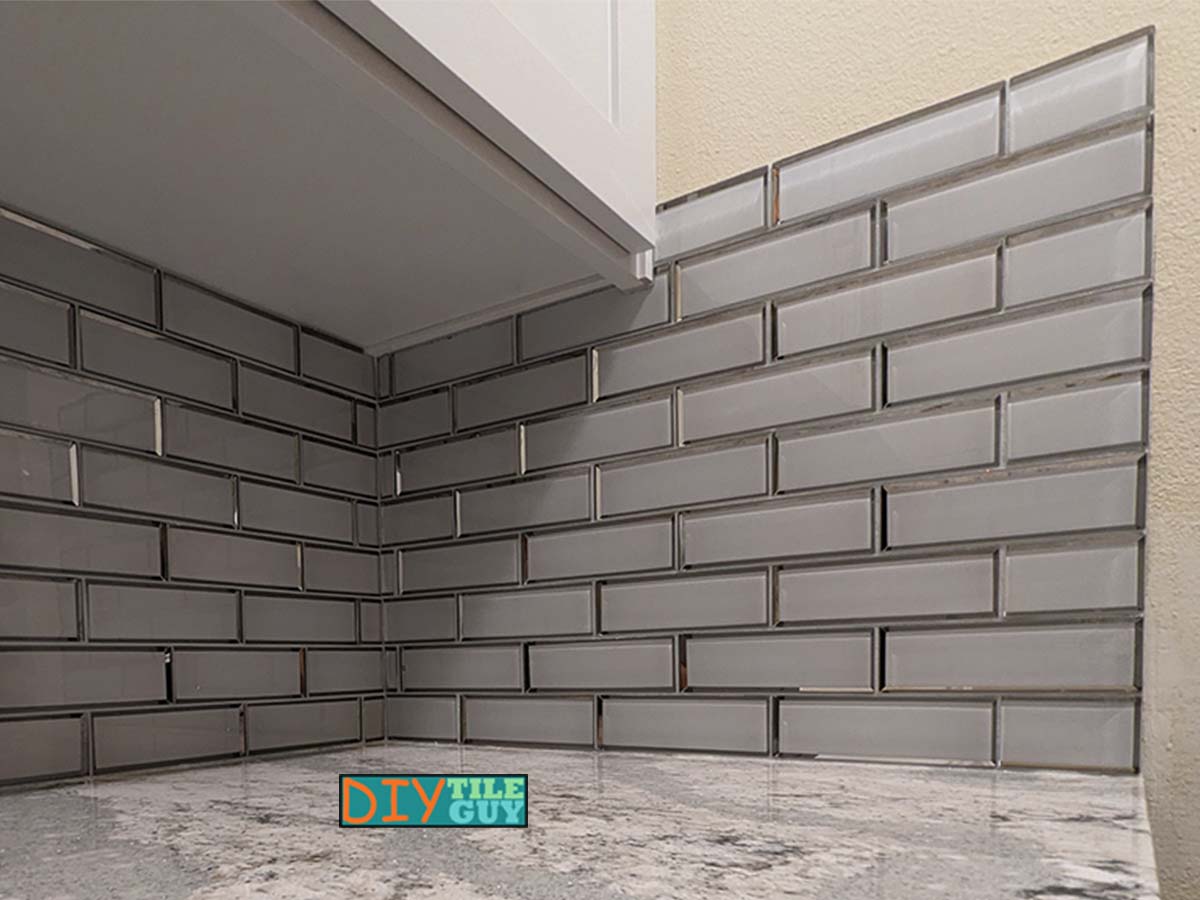
Most tile backsplashes will have inside corners. Consequently, there is more than one way to handle them and you’ll have to decide which is best for your situation. The ways of handling them are as follows:
Folding (wrapping, continuing) the tile pattern through the corner
This is usually my favorite way of handling corners, especially with an offset pattern.
Further, if you are installing an unconventional tile shape or particular pattern, then you will have no choice but to fold the corner. Otherwise, it won’t look right. These shapes and patterns include:
- diagonal tile patterns
- herringbone and chevron patterns
- hex shaped tile
- any other odd shapes
If you have one of the above then you will need to ‘fold’ the pattern, or tile, around the inside corner.
Inside corners with square or offset tile patterns
You have more options if you are using square or rectangular tile. Again, ‘folding’ is my favorite but you are not limited to this.
Mirroring is another option that, depending on the situation, can be the best option. This is where you repeat the tile pattern on the adjacent wall.
Finally, sometimes the corner may not work out perfectly. The situation could be that you are centering two different walls and the way they meet in the corner is not ideal.
But you may feel that is the best compromise for your situation. That’s OK. After all, people usually have appliances, or something, in the corners anyways.
How High to Tile a Kitchen Backsplash when you get past the Cabinets
A kitchen backsplash is called “full height” when it goes from the countertop to underneath the upper cabinets. Typically, this is around 18 inches but this can vary.
Once you tile past the cabinets you then have to figure out how to finish the top.
Most likely, you will just let the tile be full on top and run up, past the cabinet a little bit.
Usually, you want a full tile on top of the splash. Cutting the top tile so it’s even with the bottom of the cabinet is not what most people would do.
As always, this is a personal decision. I’m just telling you how the top of the splash is normally finished.
Cheating a Backsplash Tile Layout is Advisable
I like to ‘cheat’ the tile pattern when the situation arises. This is particularly the case with backsplashes.
The cheating usually takes place under a window or a raised bar top. Almost always where the backsplash is down to one row or less.
This allows me to work the pattern on the walls in the best possible way and then cheat the pattern where no one will notice.
Tile below the stove
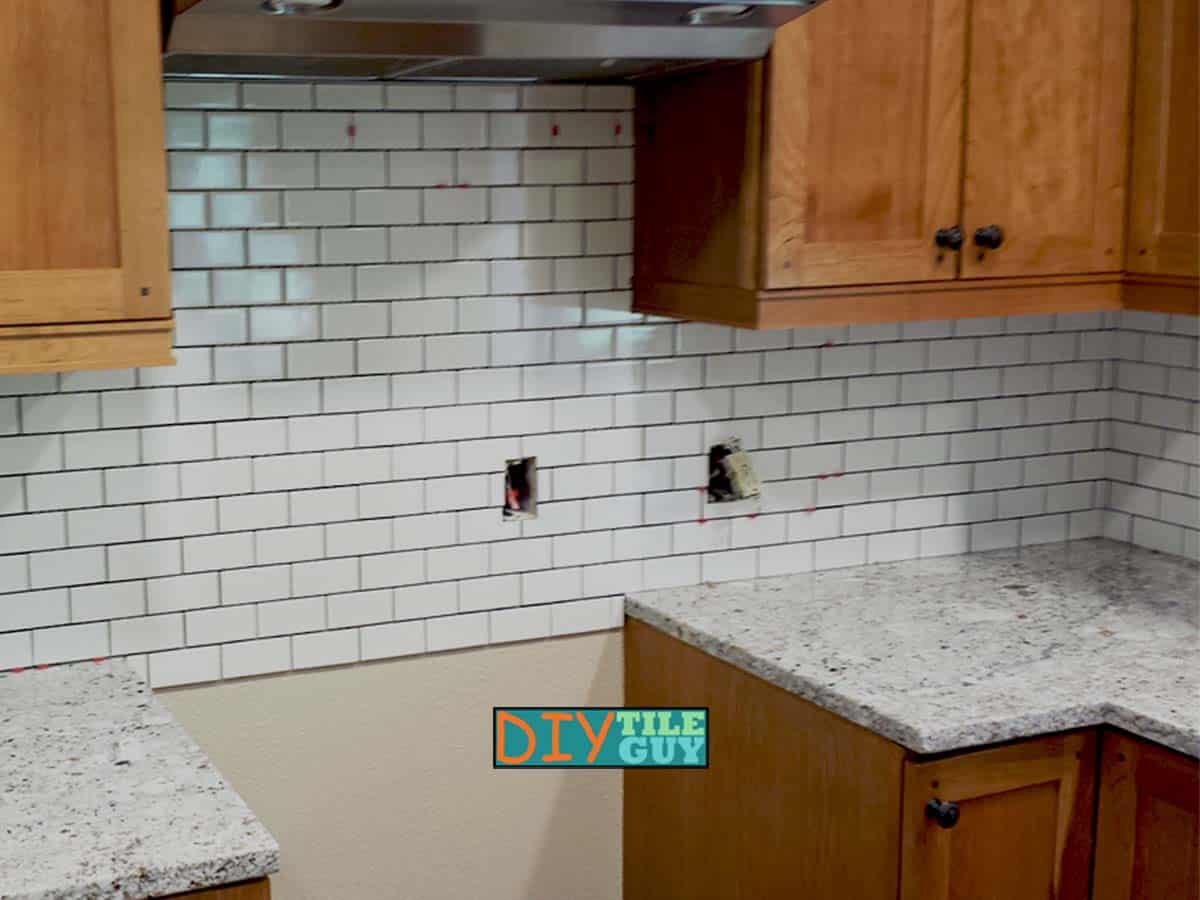
Another trick the pros like to do is to tile below the countertop level behind the stove.
The reason for doing this is that you can usually see the wall when you look at the back corner of the stove.
If you tile 1-2 rows below the stove then you will see tile instead of the drywall.
You don’t have to do this but it is a nice finishing touch.
Where to End your Tile Backsplash
Most of the time, you will tile to the end of the countertop, not to the end of the upper cabinet.
However, there are situations where you may not want a full-height tile backsplash to carry all the way out to the end of the countertop.
In this case, it’s OK to step the tile down to one row of tile or perhaps 4-6 inches of tile on the wall.
This is another personal decision and isn’t a hard and fast rule.
Plan your pattern with outlets
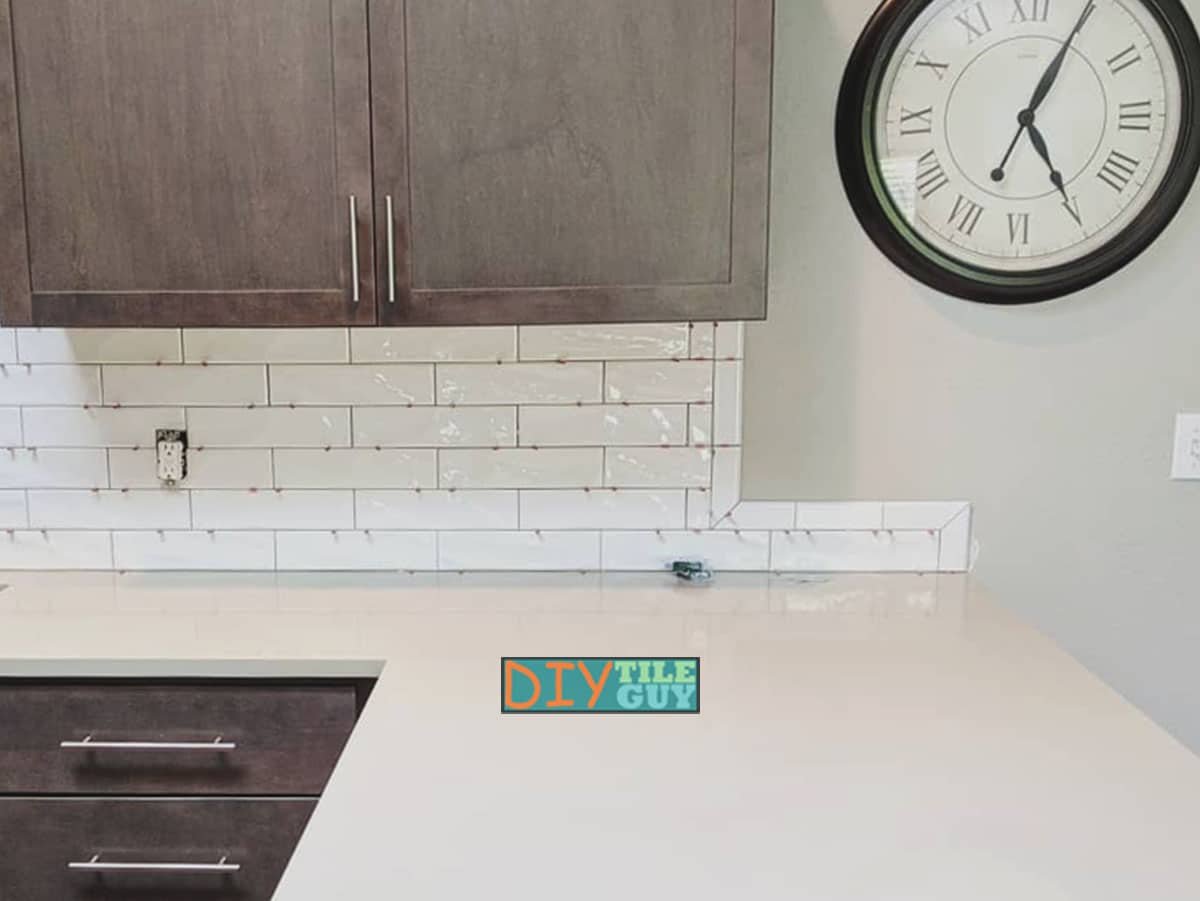
If you have a pattern in your backsplash, such as a repeating deco tile or a decorative strip then you want to make sure to take your outlets into account.
This is less common of an issue with today’s styles but back when I used to do new construction housing in the early 2000’s this was almost always an issue.
You’ll either have to adjust your pattern, move the outlets, or just make do.
Final Thoughts
A kitchen backsplash is a good choice for a DIY project. Hopefully, with these tips, you’ll be able to tackle your backsplash and have it looking great for years to come!
Plus, layout is only part of the project. Calculating how many tiles to purchase is another thing you need to know.
Finally, you want to make sure you pick good tiles. Certainly, you don’t want to end up with one of the 4 worst tiles for a kitchen backsplash.
FAQ about Kitchen Backsplash Tile Layout
There is more than one way to finish the end of the tile on a kitchen backsplash. A bullnose trim tile is one way. An edging profile is another. See this post for more about tile edging options.
You need the countertops installed first before you attempt to tile the backsplash.
You want your tile to start at the main focal point. It would be unusual for that focal point to be in a corner.
You want your tile backsplash to extend out past the upper cabinets and to the end of the countertop. This is almost without exception.
Unlike wood, you almost always want a gap around your tile. This includes putting a space between the tile and the countertop.
Tile industry standards call for the gap to be a minimum of 1/8 inch. However, some installers will go with 1/16 inch if that matches the spacing in the rest of the tile installation.
You want a gap between the tile backsplash and the countertop. That gap should be filled with a sealant meeting ASTM c920. Many grout manufacturers sell a color-coordinating 100% silicone sealant that meets that standard.
Typically, it is perfectly fine to tile over drywall in a non-wet area like a kitchen backsplash.
Bonus Backsplash Tile Layout Quiz:
This is a question that I presented to my email subscribers a while back.
How would you layout out this backsplash?
Would you center it between the wall so there are equal cuts?
or Would you determine the focal point to be where the person stands which is what the light, mirror, faucet, sink, and centerline of the cabinet are all lined up with?
[edit: sorry, the embeds don’t work anymore but you can see the post on X (formerly Twitter)]