This post was updated on July 2023.
Typically, I encourage people to follow the manufacturer’s instructions.
Especially when the company has clear, detailed, and easy-to-understand instructions like Schluter does.
But when it comes to both Ditra Heat and Ditra Heat TB [edit: now called Ditra-Heat Duo] there are two things that I just don’t feel are good ideas.
Estimated reading time: 5 minutes

This post deals with the installation of Ditra Heat mats only and not the electric heating wire. I also have a post with some installation tips for Ditra that you may want to check out.
So what are the two things you want to avoid when installing Ditra Heat mats?

1. Pre-fill the waffles. Always. (see update below)
I feel strongly about this. Now the Ditra Heat Handbook doesn’t specifically tell you to not pre-fill the waffles.
However, it does tell you to start setting the tile right over the mat. Also, the photos show the tile being set right over the orange heat mats.
This is not a good idea, in my opinion.
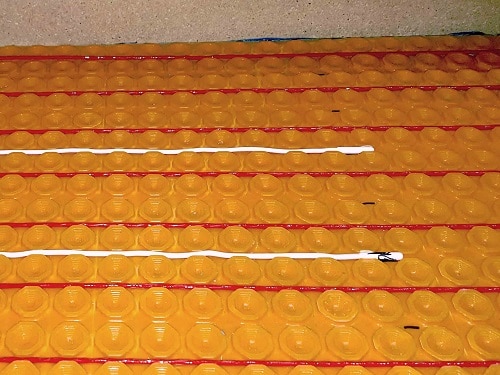
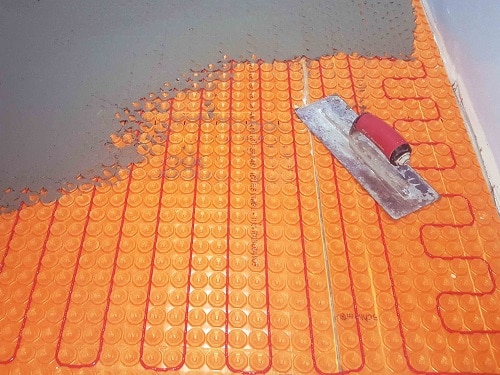
First of all, what does pre-filling the waffles mean? This is where you skim-coat thinset mortar over the top of Schluter Ditra. You do this with the flat side of your trowel.
Then you let it dry before installing the tile. This skim coat layer helps to protect the wires below. This is important for two reasons.
- It helps to protect the wires from the teeth of your trowel when combing the mortar.
- If you have to pick a tile back up after it’s been set (during installation) you won’t drag the wires out with it. The wire can stick to the underside of the tile. You can prevent this by pre-filling the waffles.
An additional benefit of prefilling Ditra mats is being able to snap chalk lines and actually being able to read them.
FYI, Schluter has rather specific guidance on which thinset mortar when installing Ditra-Heat or Ditra-Heat-Duo. Additionally, the recommend using a 1/4 x 1/4 inch square notch trowel for installing these thicker membranes.

February 2022 update:
Apparently, Schluter has made an adjustment to the manufacturing process for Ditra-Heat in an effort to make it more pliable so that it lays down flatter.
However, in doing so, it makes it so that prefilling is even more problematic in that the little centers pop loose much more easily.
This is a problem because when you’re installing tile and you have to pick a tile back up you will have the a bunch of the hard little centers stuck to the back of your tile.
Consequently, if you want to use Ditra-Heat it’s best to not prefill the mat and just fill it in when you are setting your tile- all in one step.
Additional options include:
- Prefilling and installing Kerdi membrane over Ditra-Heat (I know, more time and expense)
- Using a competing product. There are several different brands and I like both Strata_Heat and Flexbone Heat for uncoupling heat membranes
- Use a completely different kind of underlayment for your tile like, for example, cement board.
- Use a self-leveling product to prefill. This is another practice that Schluter does not endorse but other manufacturers do. Be very careful which self-leveling product you use. Only certain ones are approved for this type of installation.

2. Don’t install tile the same day over the Ditra Heat mat
Schluter says this is ok. Again, I think this is a bad idea.
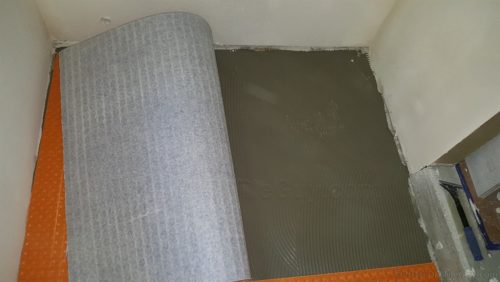
As mentioned, when you have to pick a tile up and re-install it (you will have to do this- more than once) the suction of the tile can pull up the Ditra mat causing it to break the bond to the plywood.
My advice: install the Ditra Heat mat one day and install the electric heat wire on a different day.
Then skim coat the wires with thinset and let that dry. You have enough to do just installing the tile properly. You don’t need additional challenges or things going wrong.