“How do you know it works?” I’ve been asked this by more than one homeowner when installing their electric floor heat systems. It’s a good question.
Frankly, it’s too big of a risk to install the whole electrically heated floor with tile on top and then hope that it works when the project is complete.
In fact, several years ago I did have one that didn’t work right out of the box. Luckily I followed this procedure and kept a minor inconvenience from turning into a huge disaster.
Installing Electric Floor Heat: step-by-step
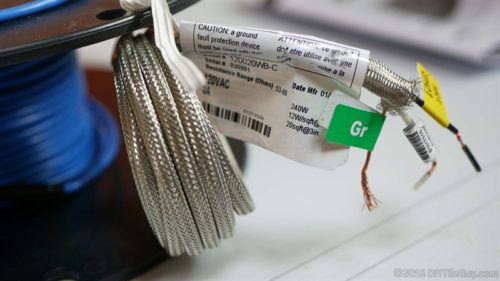
This post will show you how to check your electric floor heat so you know that it’s working properly and the one that you bought isn’t defective.
This is the first step to keeping your warranty intact. It’s also the first step in successfully installing your new electric floor heat system.
I’m going to go step-by-step with the Suntouch WarmWire Cable system but this procedure works with any brand including Nuheat mats and Ditra-Heat.
Also, any type of electric heated floors whether it be standard-sized mats, custom cut & turn mats, or the wire spools.
Step one- before you unwrap the wires or unroll the mats is:
Reading the Instructions
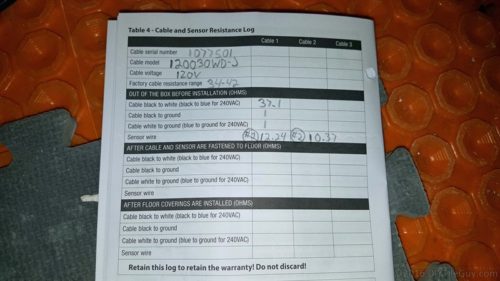
I realize some consider this a sin but you do have to find where to write down the information about your floor heat system.
So you’ll want to pull the paperwork out of the box that contains the heat wire or mat and find the place to enter information about your new radiant heat system.
Then you’ll be able to enter your information and keep the warranty in play. For Suntouch, the information gets recorded in the instruction manual.
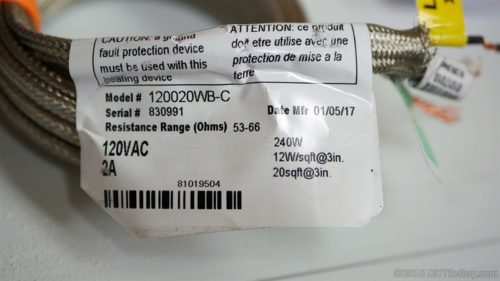
Locate the model and serial number for your electric floor heating cable along with the resistance range (covered later in this post). Suntouch has this information on a label at the end of the wire.
Copy the information over to the warranty card and move on to the next step.
How to Use an Ohm Meter for Heated Tile Floor Installations
Installing electric radiant floor heating does require a special piece of equipment: an ohm meter- also called a multimeter.
These range in cost from a couple of dollars for one with a shaky needle gauge to hundreds for a top-of-the-line professional version. I use one similar to this one because it’s inexpensive and has a digital readout.
note: Ditra-Heat requires an additional test done with a Megohmmeter insulation tester (“Megger”).
Measuring the Ohms (resistance) of the Electric Floor Heat Mats or Wire
As you’ve probably guessed it’s one thing to have the ohm meter it’s another to know what to do with it. Well- good news! Performing the test is fairly simple. I’m going to go through it here step-by-step.
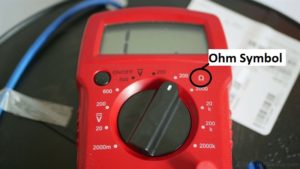
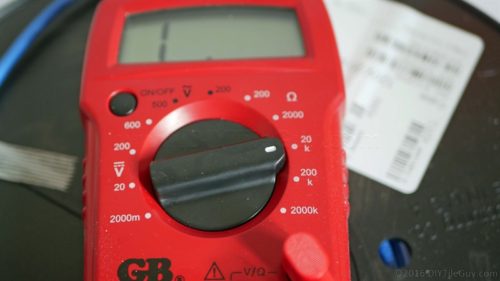
First thing is to identify where the ohms section is on the dial. You can identify it by its symbol- it looks sort of like a horseshoe or a pair of headphones.
You’ll want to turn the dial to that symbol and if your meter has a choice of numbers in the ohms section then turn the dial to 200 ohms. This is illustrated in the photo above.
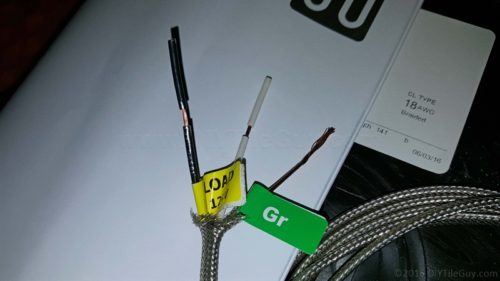
The heat mat or cable will have three wires at the end of it: a black, a white, and a ground wire. The first test will test the two black & white wires (blue on 240v systems).
Although the ohmmeter has a red and black lead for these tests it won’t matter which color goes where.
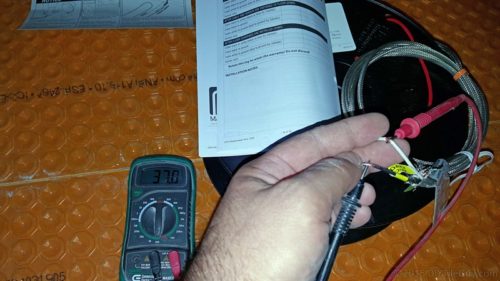
Test 1
With the power on and the meter set to 200 ohms take one of the leads and connect it to the black wire. Then take the other lead and connect it to the white wire.
You should get a reading on the meter doing this. Take that number and write it in the proper box on the warranty card. This number should be between the high and low resistance range.
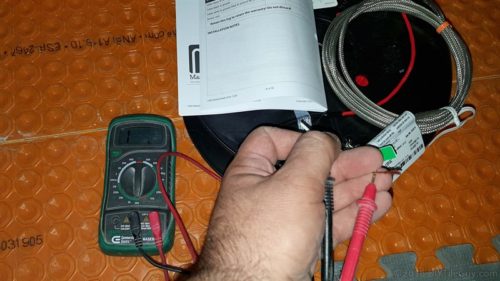
Test 2
For this test, you’ll take one of the meter leads and connect it to the black wire. Then you’ll take the other lead and connect it to the ground wire.
A successful test will read “1” or nothing. A readout of any other number besides 1 may indicate a damaged wire.
Test 3
The third test is a repeat of test 2 above except that you will touch the white (or blue) wire to the ground instead of the black.
Make sure to record the results of both of these tests on the card.
Testing the Electric Floor Heat Sensor Wire
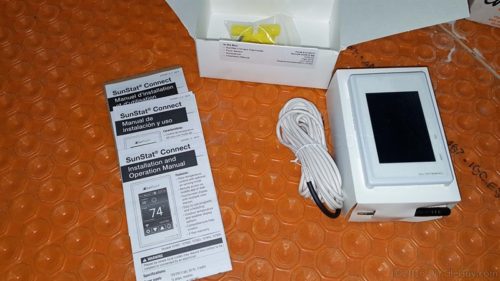
The final test in this series is to test the heat sensor wire. You can find the sensor wire in the box with the thermostat. This wire tells the thermostat how hot the floor is getting.
This wire only has two wire ends and the test is performed exactly the same as Test 1 above. Only with the exception that you turn the dial to 20k rather than 200.
Most of these wires say to have a resistance number in the 8-12 range. However, these wires are thinner and more finicky and I’ve had readings as high as 15 before.
If you are getting a number outside the 8-12 range you may try to cutting an inch off of the wire and re-stripping the ends. Sometimes it’s just the ends that are interfering with the reading.
Once you’ve completed these tests and entered the information on the card you’re ready to install the wire.
Please keep in mind that you’ll have to repeat these tests two more times and record the results to keep your radiant floor heat warranty intact.
In fact, it’s not a bad idea to run these tests every day.
Two Floor Heat Tips for the Extra Cautious

The Electric Floor Heat Alarm
They do make alarms for these floor heating systems, such as the Suntouch Loudmouth, and you may even have one included in your electric floor heat supplies. It’s a good idea to hook one of these up to your heat wires.
A blaring alarm indicates the heating wire was damaged. I know that you won’t be happy about damaging the heating wire.
But at least knowing exactly where it’s damaged means that you can fix the break. By the way, repair kits are made just for this purpose.
Also, make sure to turn the switch off on these alarms if you try to test the floor heat cable. Otherwise, you’ll get a skewed result while testing the wire with it hooked into this device.
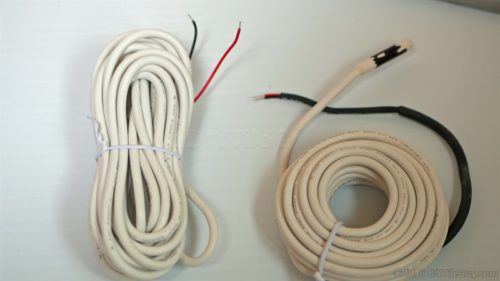
Purchase an additional Heat Sensor
Oftentimes installers will install two heat sensors in a radiant heat installation just in case one of them fails.
Although it’s rare, these do fail from time to time and the only fix is to pull up the tile and install a new one. Not a fun task to say the least.
You would hook up only one of the sensor wires. Consider the second wire a spare and good insurance.
I always take a sharpie and mark both ends of the wire as black. Not only the end that gets installed in the floor but also the end that gets wired into the stat. That way I know which one is which in my photos of the floor.
So there are the steps to checking your heat wires out of the box. Checking the radiant floor heating wire regularly throughout the installation will prevent a frustrating and expensive mistake.