I know, thin mesh tape banding doesn’t seem like it’s going to do anything at all.
However, this is a step that may seem trivial but has a significant impact.
Let’s get into the details.
Estimated reading time: 4 minutes
Alkali-Resistant Mesh Tape
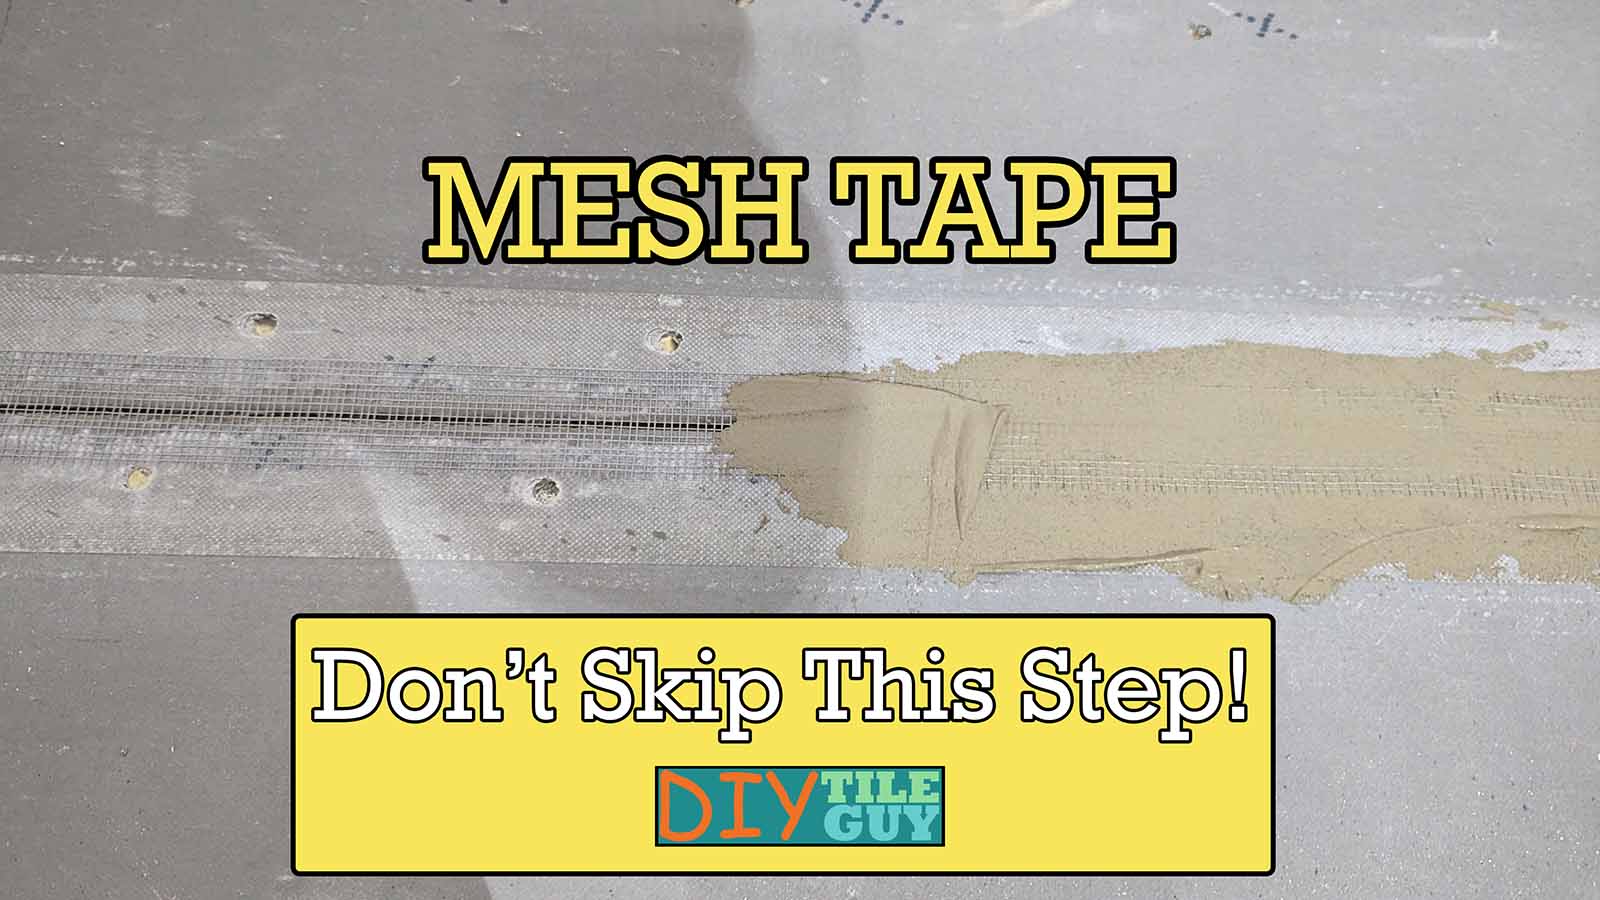
For tile backer boards such as Durock, Hardiebacker, and Permabase, the seams between the board need to be treated with 2-inch alkali-resistant mesh tape.
Then a coat of thinset gets flat troweled over the seam.
Additionally, if you are tiling over drywall it’s perfectly OK to tape the drywall seams this way instead of using joint compound.
This ties the two boards together and helps prevent flexing. It also prevents one board from flexing differently than the other, making the walls that are to be tiled more monolithic.
What happens if you don’t use mesh tape?
Sometimes, nothing happens.
But I’ve walked into bathrooms where all the walls have cracks in them that follow the backer board joints.
Sometimes, tiles will pop loose where there’s movement. This allows water to get behind the board and into the wall unimpeded.
Carrying out this step doesn’t cost much extra or take much more time, but it’s a necessary part of a successful tile installation.
What exactly needs to be mesh taped and filled with mortar?
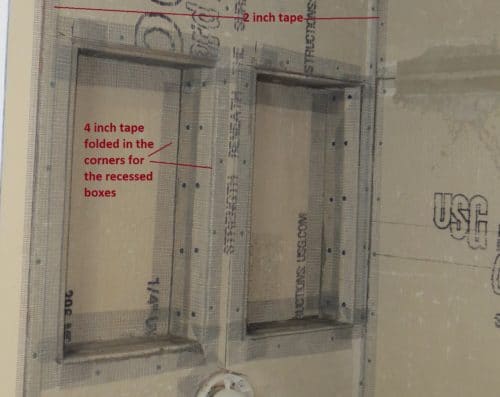
A good rule of thumb is to tape anywhere two panels come together. In the photo below, you can see that I’ve taped between the panels and also in the corners.
You can sort of fold and squeeze the tape into the corner so that there is still one inch on each side. Make sure the tape is tight in the corner. Otherwise, that can cause problems later.
You’ll want to tape where the cement board backer board meets the sheetrock wallboard. In the photo, you can see that I even installed some around the plumbing fixtures where the cut left a gap.
For the thinset step, look up the instructions for whichever backer board you are using. Typically, almost any modified mortar will work. To install the thinset, you can use the backside (flat side) of a notched trowel for tile.
One downside is that sometimes the notches will catch the tape in the corners, so you’ll just have to be careful. Personally, I’ve found that a 4-6 inch flat putty knife works great for working the thinset into the mesh taped seams.
If you are going to be applying a liquid waterproofing membrane over the wall, then you’ll put some thinset over the screw heads also and flat trowel it flat with the wall. You don’t need to use mesh tape over the screw heads, though.
Mesh tape on outside corners
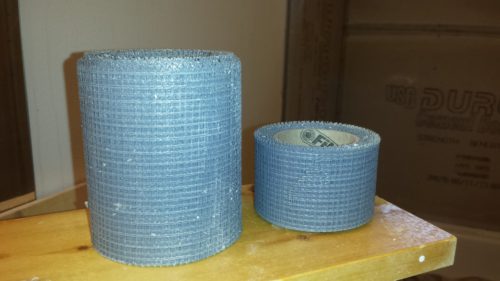
Outside corners can be difficult with 2-inch mesh tape. It’s hard to get the tape to fold over the corner and stay long enough for the thinset to set up.
They make 4-inch alkali-resistant mesh tape and this stuff works great. If you have outside corners to do then you may decide to just get the 4-inch mesh tape only and use it anywhere you would use the 2-inch.
If you can’t get your hands on the 4-inch stuff, I’ve had success using two layers of 2-inch mesh tape for an outside corner.
I’ve done this by overlapping them about 3/4 of an inch, so the tape ends up being about 3 1/4 inches wide in total. It’s not as easy as one layer of 4-inch tape, but it works if that’s your only option.
I felt that this was a simple thing, but it’s important enough to warrant its own post. Skipping this step could really mess up an otherwise good installation. I’ll have more of these types of posts down the road.
Cement Board installed on Floors
Mesh tape is also commonly omitted from cement board installed on floors. This is a mistake.
Sealing a bathtub to the backer board
I also have information on how to seal the bathtub or shower flange to backer board walls.
