Shower drain weep holes play a crucial role in maintaining proper drainage in a tile shower. These small openings allow excess water to escape from the shower base. This can help prevent mold, mildew smells, and standing water.
Ensuring that these holes remain clear is essential for the long-term functionality of your shower system.
However, it’s common that your shower weep holes are clogged or obstructed during the construction of the shower. Sure, you can install different devices for protection, but the weeps are frequently blocked before these measures take place.
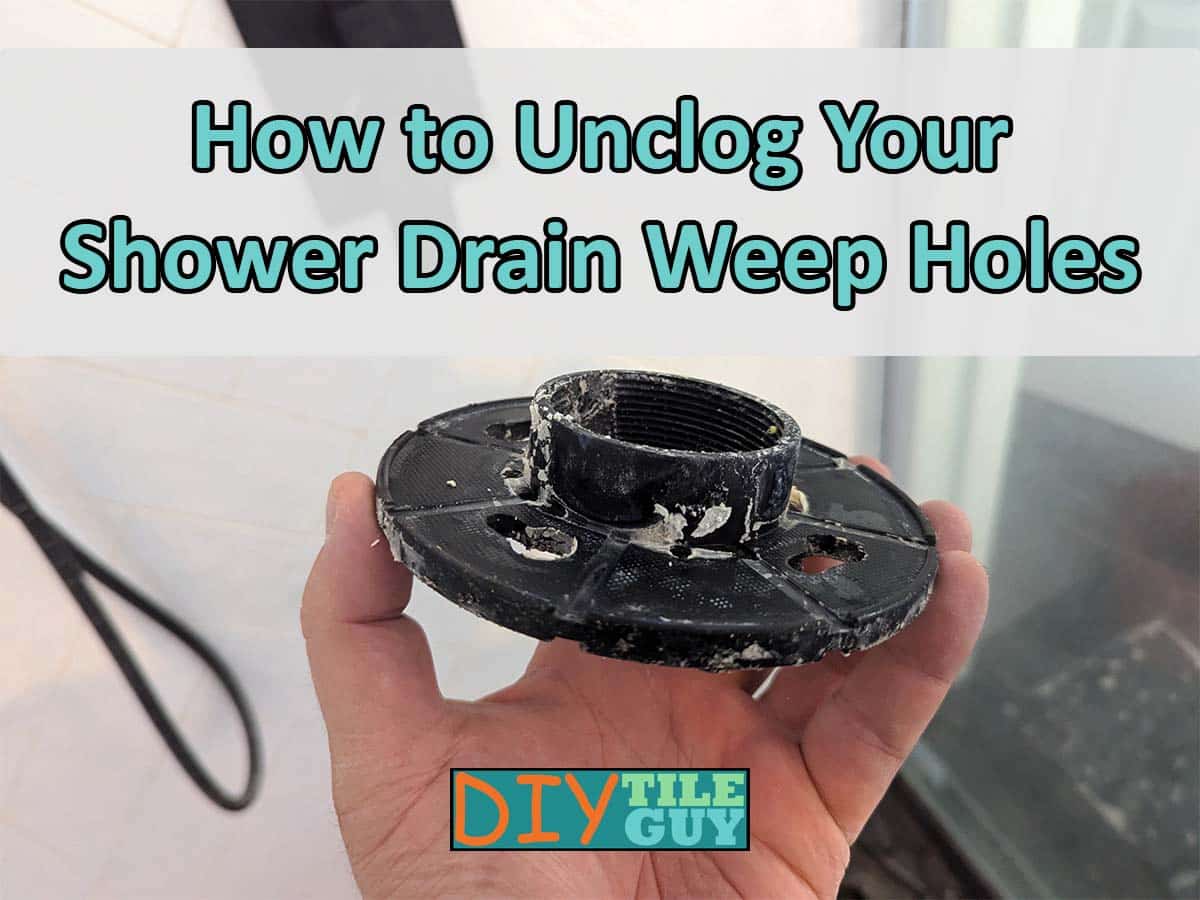
This post demonstrates how to repair the shower drain weep holes and ensure they are functioning properly before rebuilding.
Signs weep holes are clogged in tile shower drain
Clogged weep holes in a tile shower drain can lead to issues. Marble and natural stone showers can darken around the drain, whereas porcelain tiles may show it more in the grout joints.
1. Darkening of Tiles and/or grout joints
A noticeable darkening of the tiles surrounding the drain is a common indicator. This may indicate trapped moisture due to clogged weep holes.
2. Wall Discoloration
If the walls of the shower are darkening around the perimeter, it may be caused by excess moisture. The moisture is backing up and now traveling up the walls.
3. Difficulty in Cleaning
Sometimes, the grout joints, especially around the drain, will darken quickly, and that area can be a constant battle to clean.
4. Mold Growth
Presence of mold or mildew in areas near the drain points to potential drainage issues. Regularly check the corners and edges of the shower for signs of growth.
Keep in mind that these signs can be indicative of restricted weep holes, but they can be caused by other issues, too. It pays to investigate as much as you are able so the signs are not misinterpreted.
Understanding Weep Holes in Shower Drains
Weep holes help prevent water accumulation in a shower pan and help excess water to drain.
The Purpose and Function of Weep Holes
Weep holes are small openings around the base of a shower drain. Their primary purpose is to help water that gets underneath the tile to have a way to escape down the drain.
- Yes, water gets underneath the tile.
- No, tile and grout are not waterproof.
Without proper drainage, you can have standing water inside your shower that smells, may be unhealthy, and can make your shower more difficult to keep clean.
Important! Doesn’t Work for Every Shower
This post helps you repair the weep system in a water-in-water-out shower. If you have a sealed system, for example, a Kerdi Shower, this repair not only won’t work, but you could seriously damage your shower!
You may be unfamiliar with these terms. If so, you’ll want to read this post which explains the differences between sealed shower systems and water-in-water-out showers.
Identifying your Shower
It’s crucial for you to make sure that your shower isn’t the wrong kind of shower. Here are a couple of examples of showers that this repair won’t work on.
If you see these types of drains- do not proceed with this repair!
Kerdi Drains
Kerdi drains have a distinctive look. They are square-ish with rounded corners and often have Schluter branding on them.
Wedi Drains
Wedi is another popular type of shower system, but it isn’t compatible with this repair. If you see a square drain that says “Wedi” on it, then this repair isn’t going to help you.
Oatey Drains are usually OK
Oatey shower drains come in both square and round versions. They often have the brand ‘Oatey’ stamped on the cover.
These shower drains are often the type of drain that this repair could be effective with.
3-piece clamping drains
This repair is designed to be used on 3-piece clamping drains in tile showers. These drains are quite common, but you need to make sure this is the drain you have to be able to move forward with this repair.
How to Unclog Shower Drain Weep Holes
Here is how to perform a repair on the weep holes in your shower pan, step-by-step.
Time needed: 4 hours
This is how you repair the weep holes of a 3 piece clamping drain installed in a shower.
- Remove tiles immediately surrounding drain cover
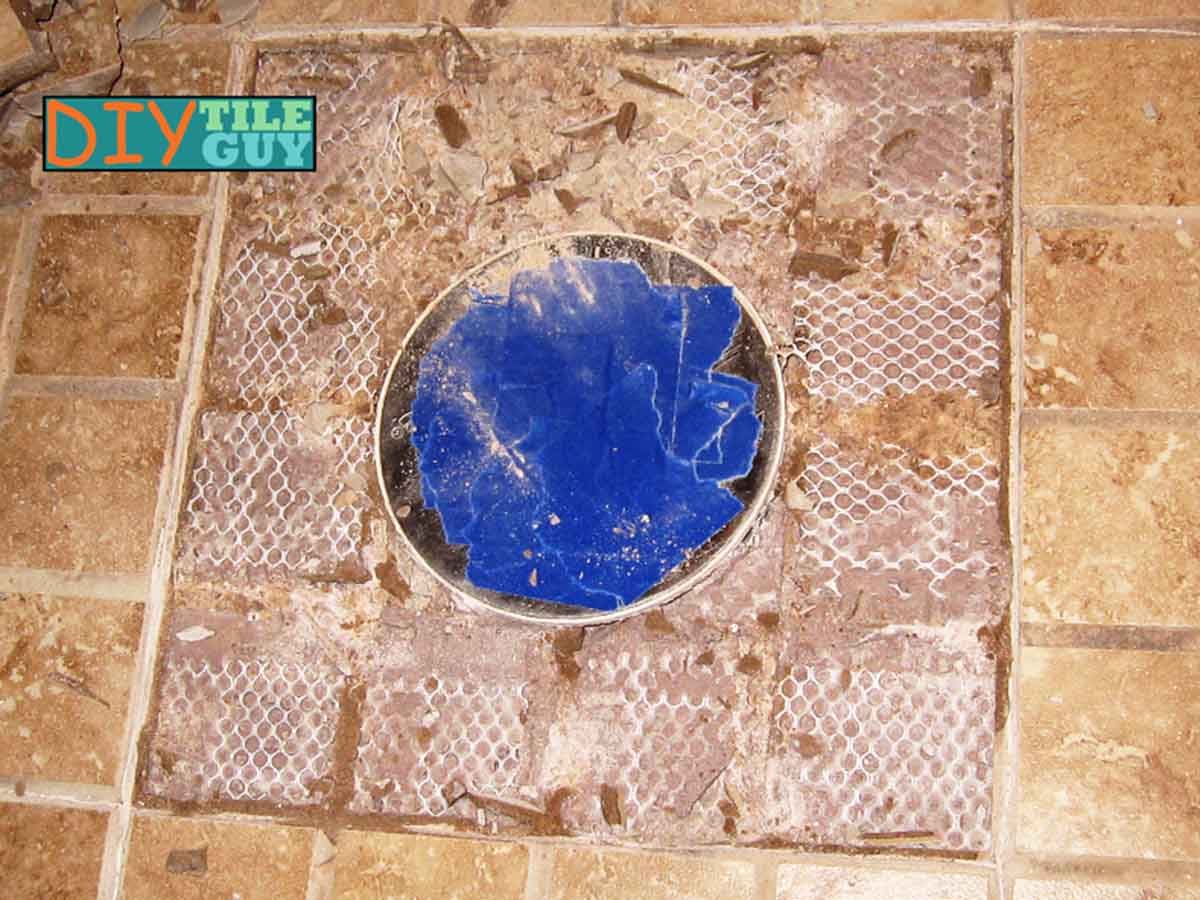
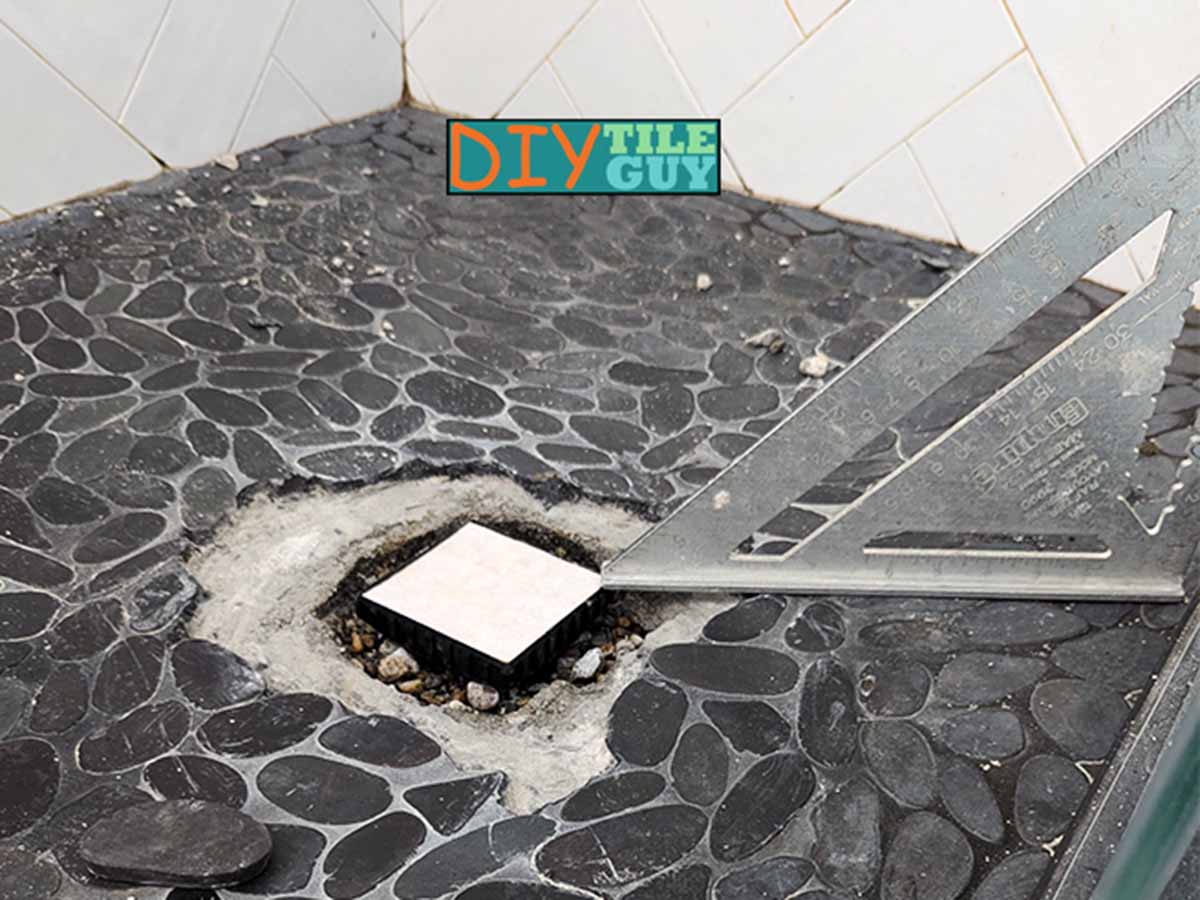
Tape off the drain holes to protect them from debris. Carefully score and remove grout from the joints immediately surrounding the drain cover. Remove these tiles by chiseling or prying them off the mud bed.
- Remove drypack mud bed surrounding drain riser
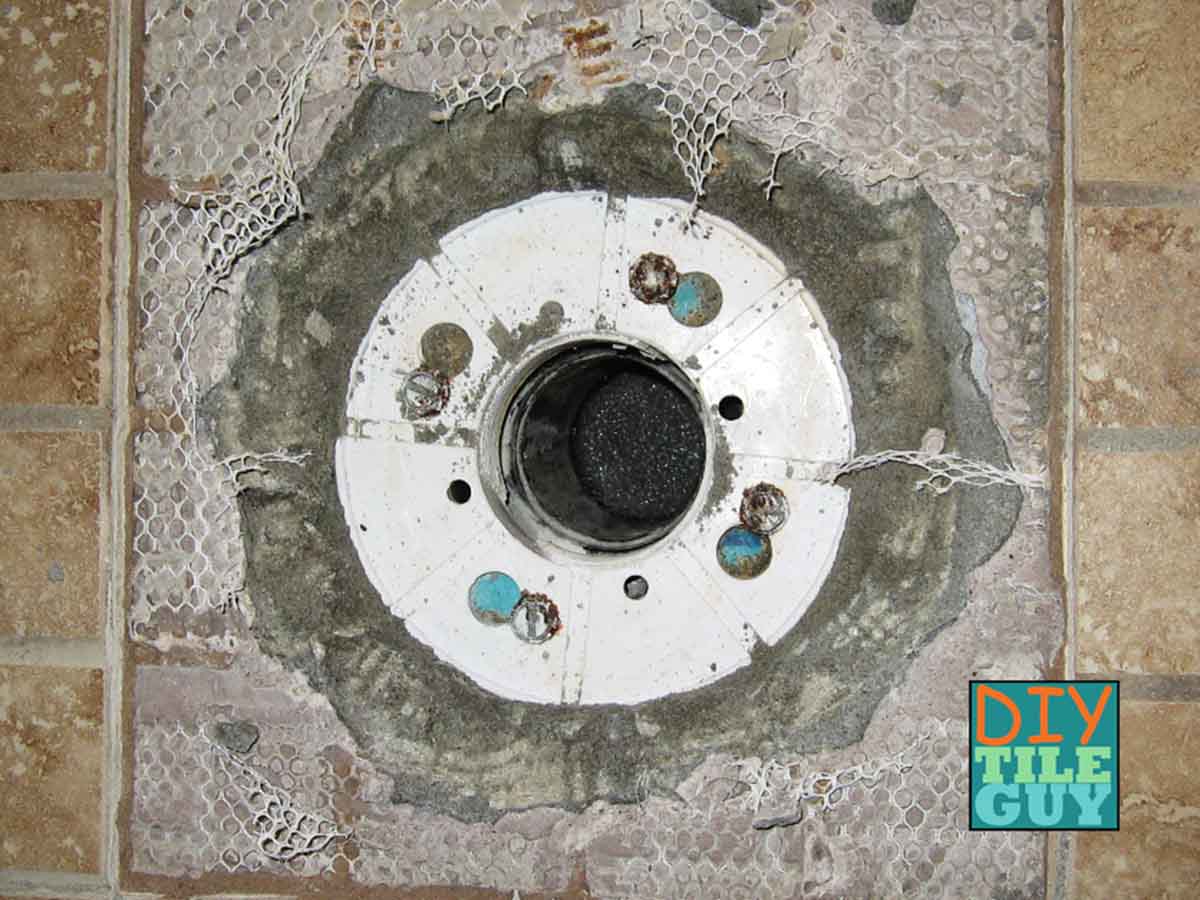
Using a hammer and chisel, dig down and remove the drypack that is immediately surrounding the drain.
Important! Don’t remove too large around of an area. It’s crucial that you stay tight around the drain with your chisel. You don’t want the point of the chisel to come into contact with the shower pan liner. If you puncture the liner, you may have permanently damaged your shower, and it will have to be replaced.
Remove enough material to completely expose the clamping collar. - Remove clamping collar and inspect
Vacuum out around the drain and remove the drain riser and clamping collar. Try not to let debris fall down the drain hole.
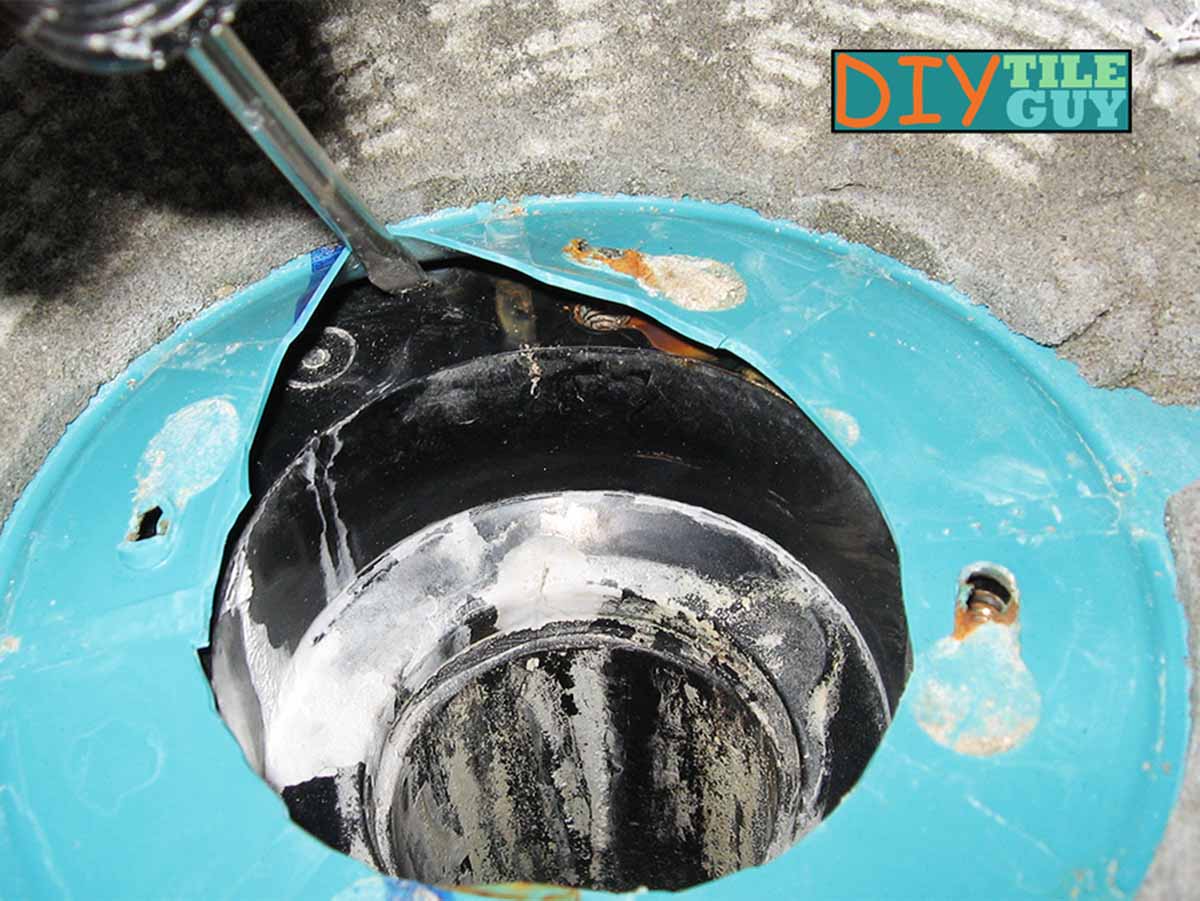
Peel back the shower liner and make sure that is is attached to the drain flange with some sort of sealant. If not, you’ll need to apply some sealant when you put things back together.
Note: there should be no sealant between the liner and the clamping collar. Only between the liner and the flange underneath the liner. - Optional: modify clamping collar
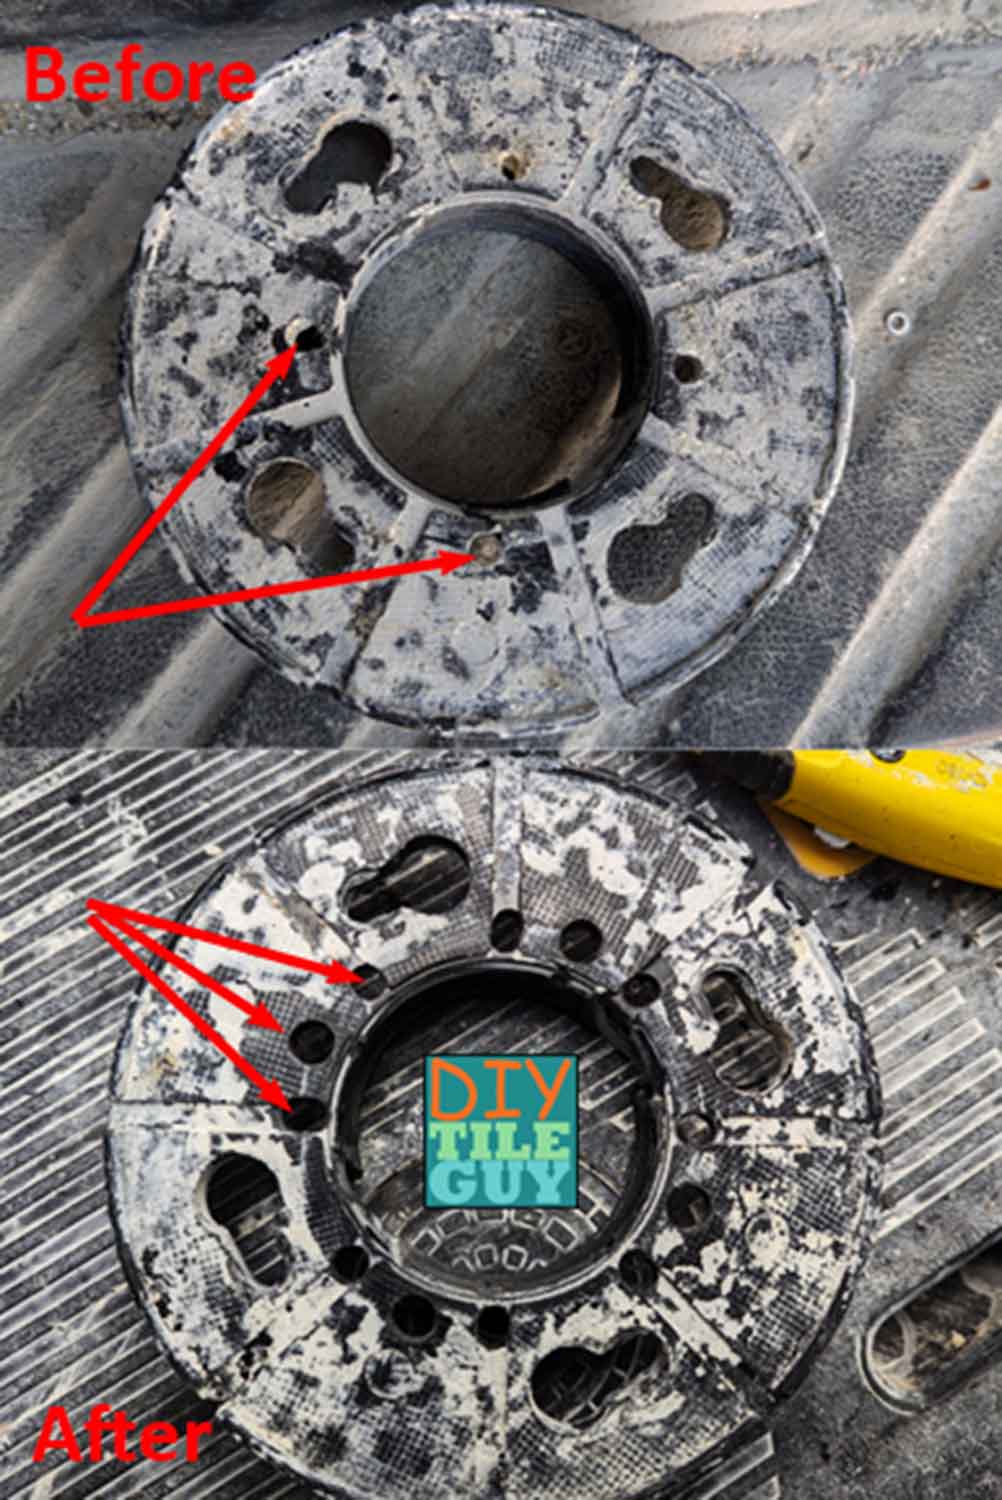
You may choose to enhance the drainage capabilities of the clamping collar at this time. This can be done by some combination of drilling larger holes, drilling additional holes, deepening any grooves, etc.
- (If necessary) Apply sealant under liner around drain
If you find that your liner isn’t sealed to the drain, apply 100% silicone sealant underneath the liner and over the drain flange. You want the bead of sealant to be outside the bolts.
Go ahead and install the clamping collar and tighten the bolts down to make sure it compresses the sealant.
Remove the clamping collar, and make sure the liner is well adhered to the flange and there are no high spots or lumps. - Reinstall clamping collar
Once you’ve enhanced the clamping collar, you want to reinstall it. Make sure not to over-tighten the bolts!
You want the bolts to be hand-tight. You don’t want the collar to freely turn, but you do want any moisture to escape underneath it with as little resistance as possible. - Test weep holes
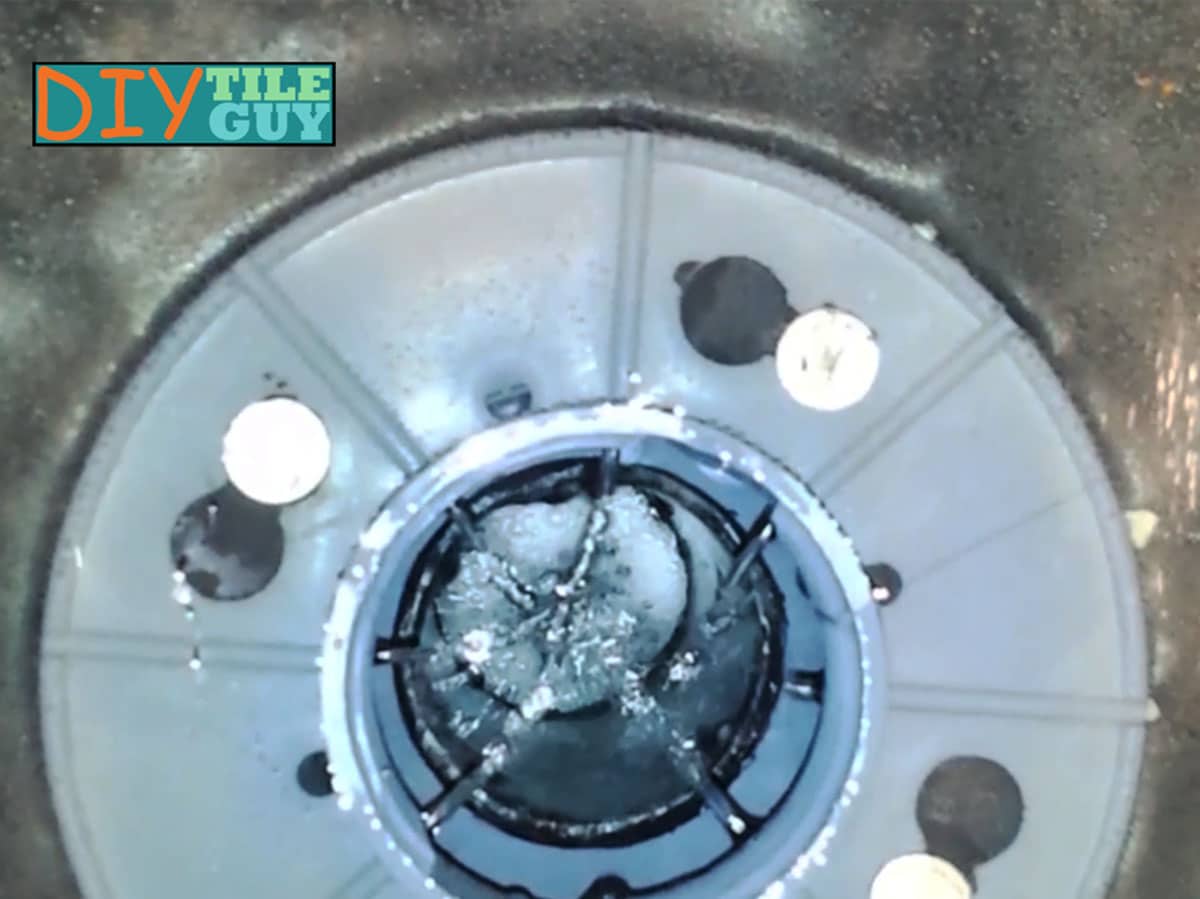
Take a sponge or a small cup of water and pour water around the clamping collar. Then look down the drain, and you should see small streams of water where the weep holes are evacuating the water.
Make sure All the weep holes are flowing water. - Reinstall drain riser
Reinstall your drain riser. Make sure its in the same plane as your shower floor. You definitely don’t want it too high, but you don’t want it too low, either.
- Protect weep holes
Install your weep hole protection. You can use either a plastic weep protector or a small amount of pea gravel. Don’t overfill with pea gravel. You just need to protect the weeps.
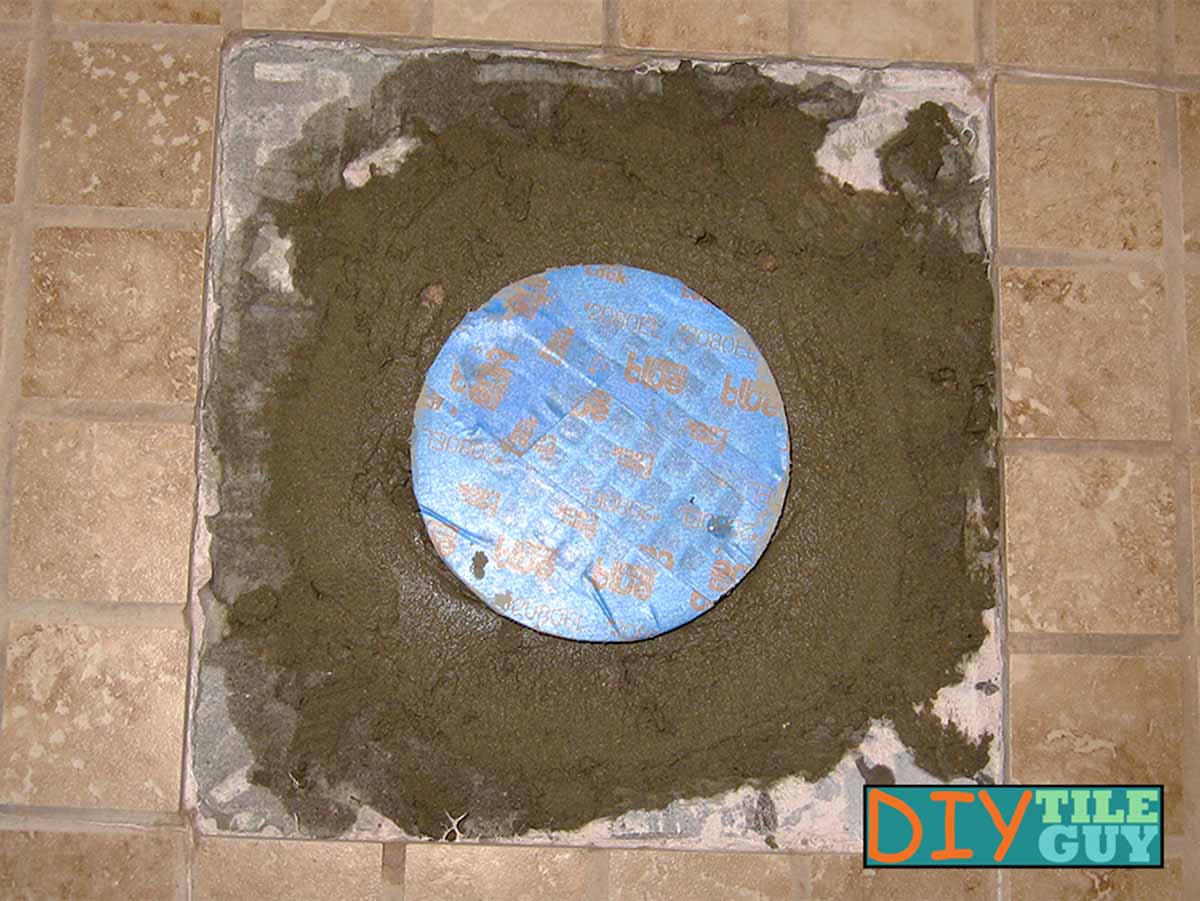
- Install drypack mortar
Mix up either 4:1 or 5:1 (sand to cement) drypack mortar and apply it around the drain riser. You don’t want it too high, or it can interfere with the height of the finished tiles.
- Install tiles
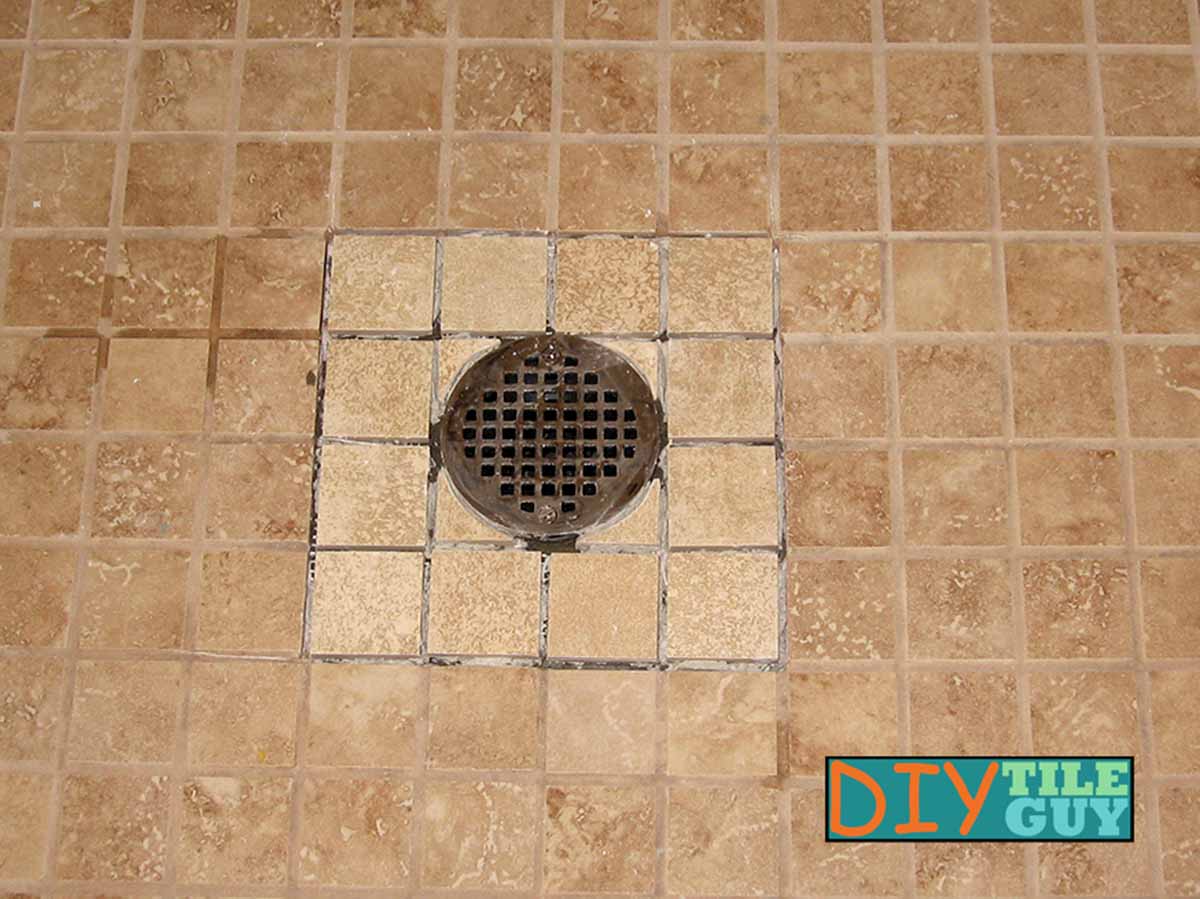
Once the mortar is sufficiently dry (it doesn’t need to be completely dry), you can cut new tiles and install them with mortar around the drain. Then grout the next day.
- Test the shower
At this point, hopefully, water will flow into the drain, and you won’t have any issues with standing water darkening the area around the drain.
Shower drain weep holes play an essential role in maintaining proper drainage. They allow excess water to escape, preventing moisture buildup.
Without these holes, water can accumulate, leading to mold growth and other issues.
Understanding the function and importance of weep holes can help homeowners maintain healthier, safer bathrooms. Ensuring these elements are intact is vital for long-term structural health.
