Tile Leveling Systems have exploded into the marketplace.
These tiling clips are all over Instagram and in an assortment of different brands, styles, and colors. Consequently, you may be wondering:
- Do you need these things to install your tile?
- Why are there so many different types?
- What do these tile levelers even do?
This post will take you on a deep dive into these funny little plastic things and you can decide for yourself if they are something you want to use… or not.
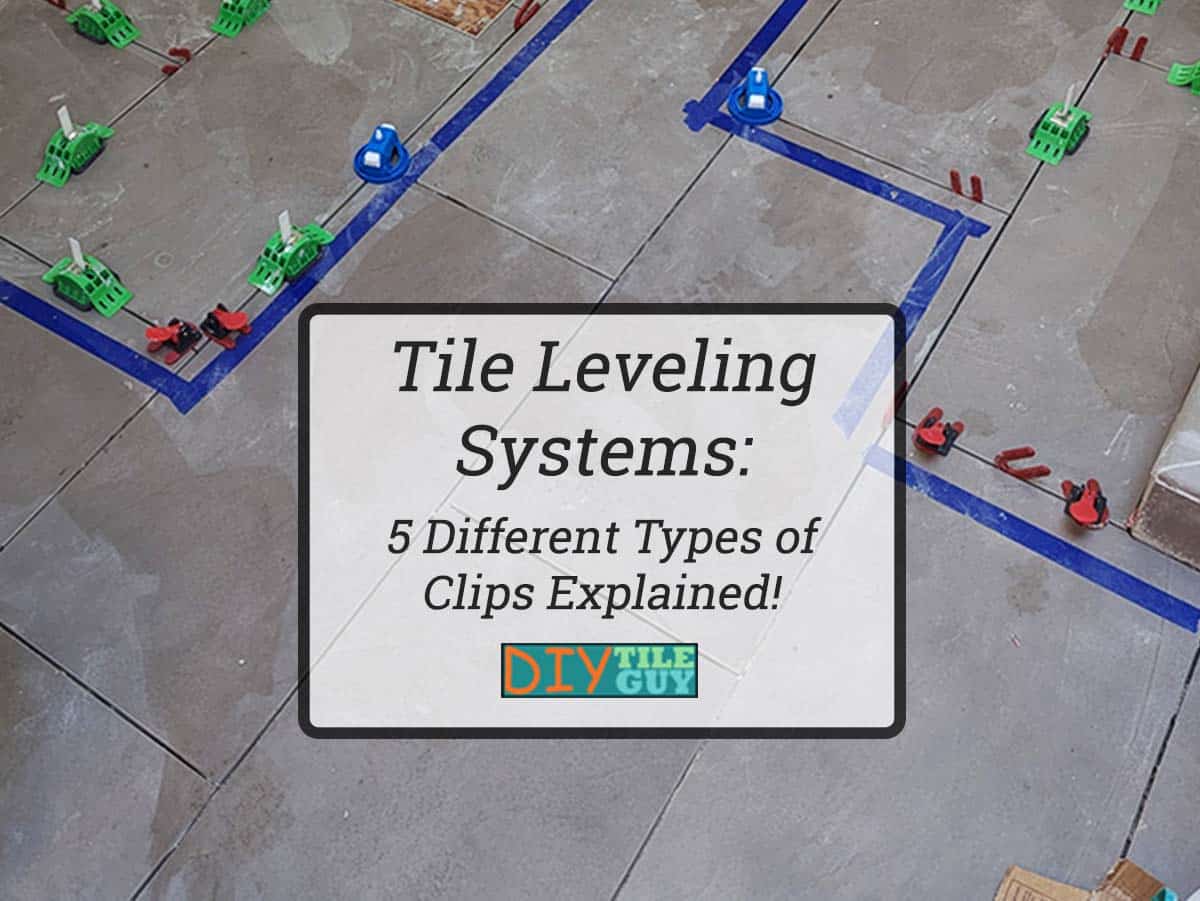
Estimated reading time: 15 minutes
What the heck is a tile leveling system?
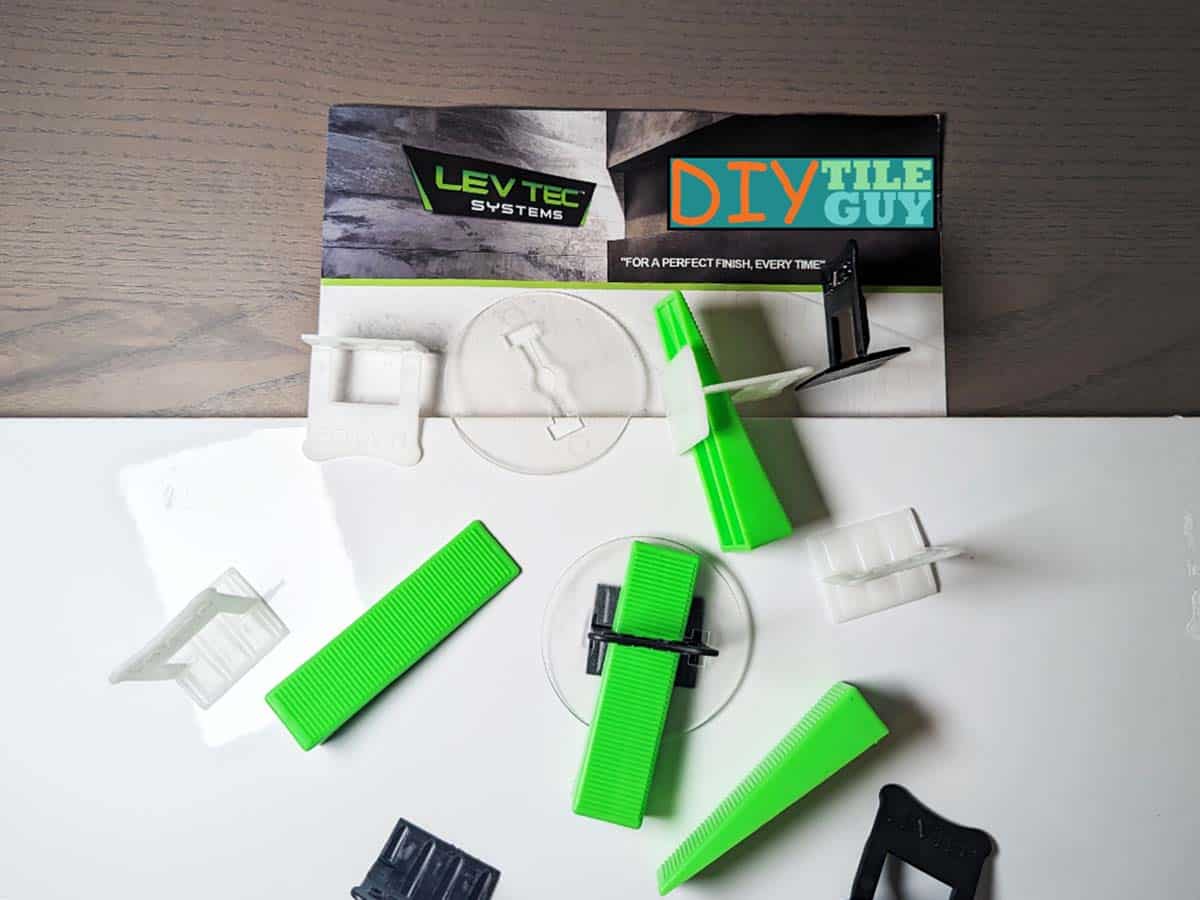
A tile leveling system is something that you put both under and over your tile and clamp it together.
The clamping action forces the two edges of the tile to even out and reduce the amount of lippage between tiles.
Components of tile levelers
There are basically two components to tile leveler:
- The base plate. Sometimes called a foot or clip.
- The cap or wedge, which is reusable.
The plate goes underneath the tile and has an attached plastic tailpiece, or strap, that extends up through the grout joint. The cap or wedge pulls on that plastic strap.
Removal of the cap
The clamping device stays in place, with tension, until the mortar is dry. Then the cap is removed and the plastic strap is broken off.
The base plate remains under the tile and is part of the installation assembly. The cap can be used again and again with additional base plates.
When should you use these leveling clips?
Let’s set some expectations of what these leveling systems do and don’t do.
What a tile leveling system does
Tile levelers can help to keep your tiles in place during installation, they can help even out lippage between tiles, and can even reduce the amount of curvature that your tile has by a very slight amount.
No, your tiles are not usually flat.
What a tile leveling system does not do
Leveling clips do not make your floor flat. Additionally, they are not a shortcut, or an excuse, to not have a flat floor that you tile over.
If you find yourself thinking “This floor is really wavy so I need tile clips to flatten my tiles out” you are not understanding what these clips do.
Additionally, the word “leveling” isn’t really the right word to have in the name. These tools help flatten your tiles to one another but they don’t actually make anything “level”.
Do You NEED a Tile Leveling System to Install your Tiles?
My answer to this question is evolving over time.
For smaller tiles, let’s say 12 inches and under, you do not need a tile leveling system to install those. I’ve seen people use them with 8-inch hex tiles before and that seems a bit ridiculous to me.
Large Format Tiles
For larger tiles, specifically large format tiles, you are not required to use any type of leveling system. However, that doesn’t mean that they won’t be helpful.
In general, the bigger the tile, the more important a leveling system becomes. They also are helpful with offset patterns, including wood-plank tiles with random patterns.
The reason that they are helpful is that they can actually help bend the tiles very slightly. Since the big porcelain tiles tend to be bowed then being able to straighten them, however slightly, is helpful.
Gauged Porcelain Tile Panels
Finally, many manufacturers of large porcelain panels (GPTP) will require a leveling system to be used to install this product.
Most people reading this blog will not be installing these large panels that are, at times, 4ft x 8ft in size. But I thought that I would mention that manufacturers may require them even for 48-inch tiles and larger. [1]
5 Types of Tile Leveling Systems
With that behind us, I’ve seen several of these systems and they seem to fall into one of five categories:
- Wedge
- Spinner
- Cap
- All-in-one
- Reusable
I’m going to get into the quirks of each system but I want to mention that the quality of the base plate is a really important factor in how these systems perform.
A good quality base plate will be thin enough to fit under the tile and hold well enough to get good tension.
Additionally, how predictably the strap breaks is an important factor. Some straps can break above the tile and then would need to be removed or cut down to below the finished tile height.
Uneven breaking can create extra time, frustration, and even chipping of the tiles that were just installed.
Here’s a more detailed write-up on each of these 5 different types of leveling systems:
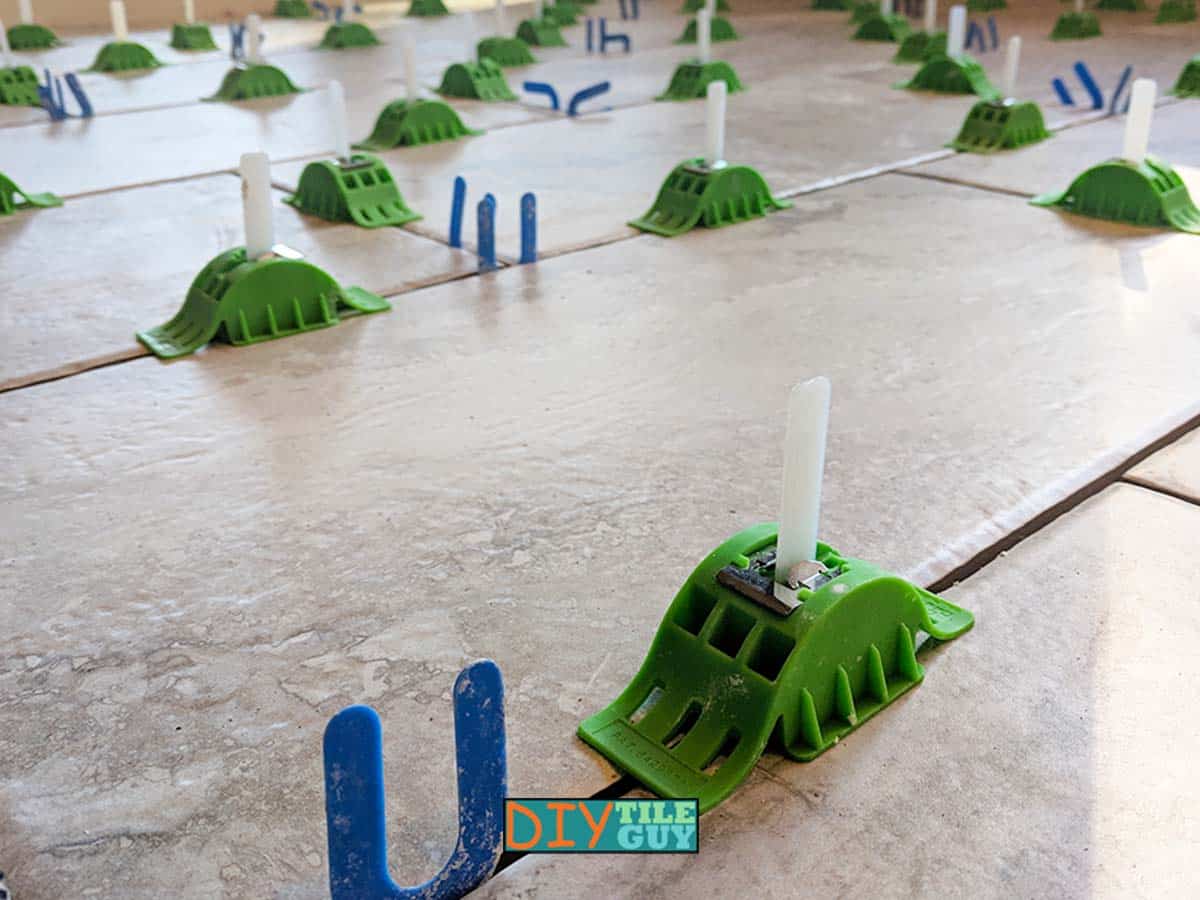
1. Wedge Leveling Systems
The wedge systems are, by far, the most common design that I see both in the marketplace and on social media.
The basic premise is that a large plastic wedge is driven into a plastic strap that’s shaped like a loop. The further the wedge is pushed into the loop the more the plastic foot pulls on the bottom of the two tiles.
A separate tool is oftentimes available, but not required, to assist in driving the wedge into the strap. The straps are removed the next day by striking them with a mallet or simply kicking them free with your feet.
Pros
Very popular and successful design. Many of the wedges from one system will work on the straps of competing systems which gives you more options in the marketplace.
A tensioning tool is not required to use this system which keeps initial costs down.
Cons
Inserting the wedge can cause movement in the tiles. Additionally, the wedges can cause scratching in natural stone and polished porcelain tiles.
Many systems do have plastic protection pieces available to protect the tiles from scratches but these are an additional cost.
A tensioning tool is advisable as it helps in obtaining maximum tension and will relieve your hands from fatigue from pushing the wedges in all day long.
2. Spinner Tile Leveling Systems
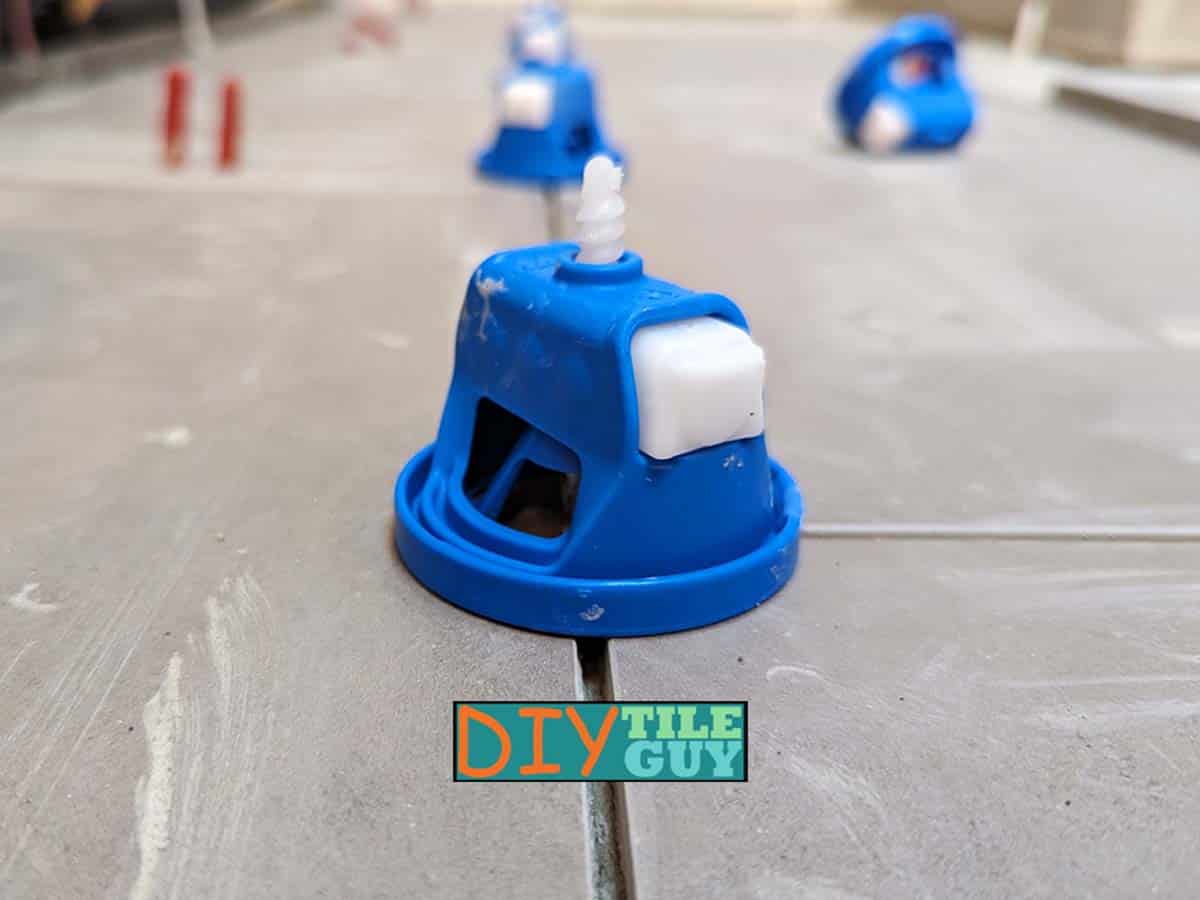
The spinning leveling system is a very popular design with both professionals and DIY’ers alike. It’s a very simple system.
The strap that sticks up through the tile is a plastic corkscrew-type of piece. The cap fits over the top and spins down into place.
The tighter it’s turned, the more tension it exerts.
No tools are required for this style although some are available.
Pros
A very simple and easy-to-understand design. Many of the caps will fit on competitors’ straps giving you more purchasing options.
A separate tool to purchase is not necessary and spinning the caps can be done one-handed.
Cons
Again, the quality of straps matters just as it does with the wedge systems. Better base plates tend to be more expensive.
The spinning action can cause movement of the tiles and could create scratch marks on softer natural stones or shiny, polished porcelain tiles. Protection plates are available for most systems at an additional cost.
3. Tensioning Cap System
These types of systems have a single strap that protrudes out of the grout joint and the cap simply ‘zips’ onto the strap.
There is no spinning or pushing of wedges. Rather, the cap is pushed straight down onto the tiles.
Tensioning tools are required for this type of system and are usually proprietary.
Pros
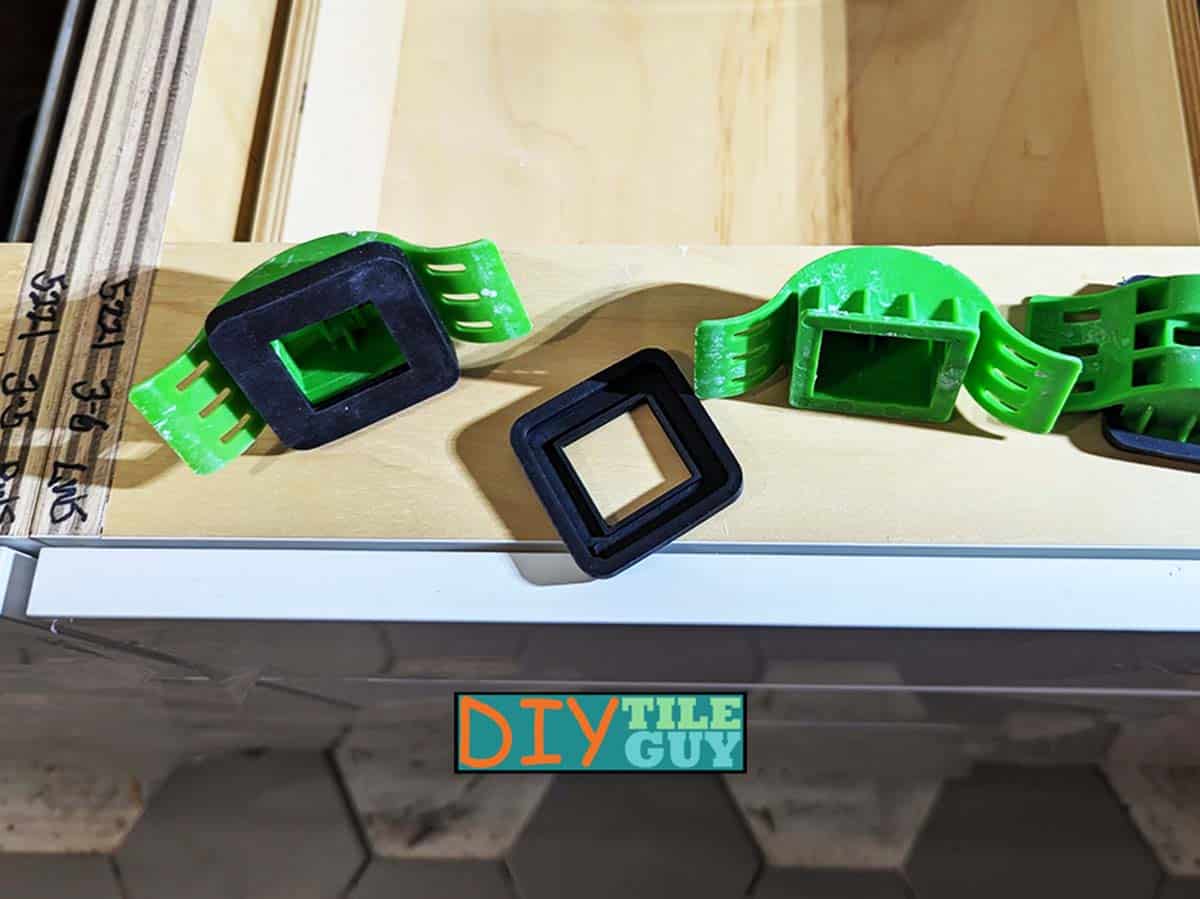
No moving parts to scratch the tiles and some systems have rubber plates that can be added for additional protection and cost.
Easy to use as the tool greatly reduces fatigue in the hands
Cons
The systems aren’t cross-compatible so be sure you research the different types as they do vary in both performance and price.
Tools are required and are typically proprietary.
4. All-in-one Tile Leveling Systems
The all-in-one style leveling clip doesn’t have separate caps and base plates. Rather, the leveling clip is all in one piece.
Pros
Because there are no separate caps to buy, the initial costs can be greatly reduced if you only need them for one floor or wall. This would be particularly appealing to the DIY’er.
Cons
They tend not to work quite as well as the top, premium systems. Additionally, the cost of each piece is much higher than if you were buying just the base plate of a two-piece system.
No tensioning tools are required.
5. Reusable Tile Leveling Systems
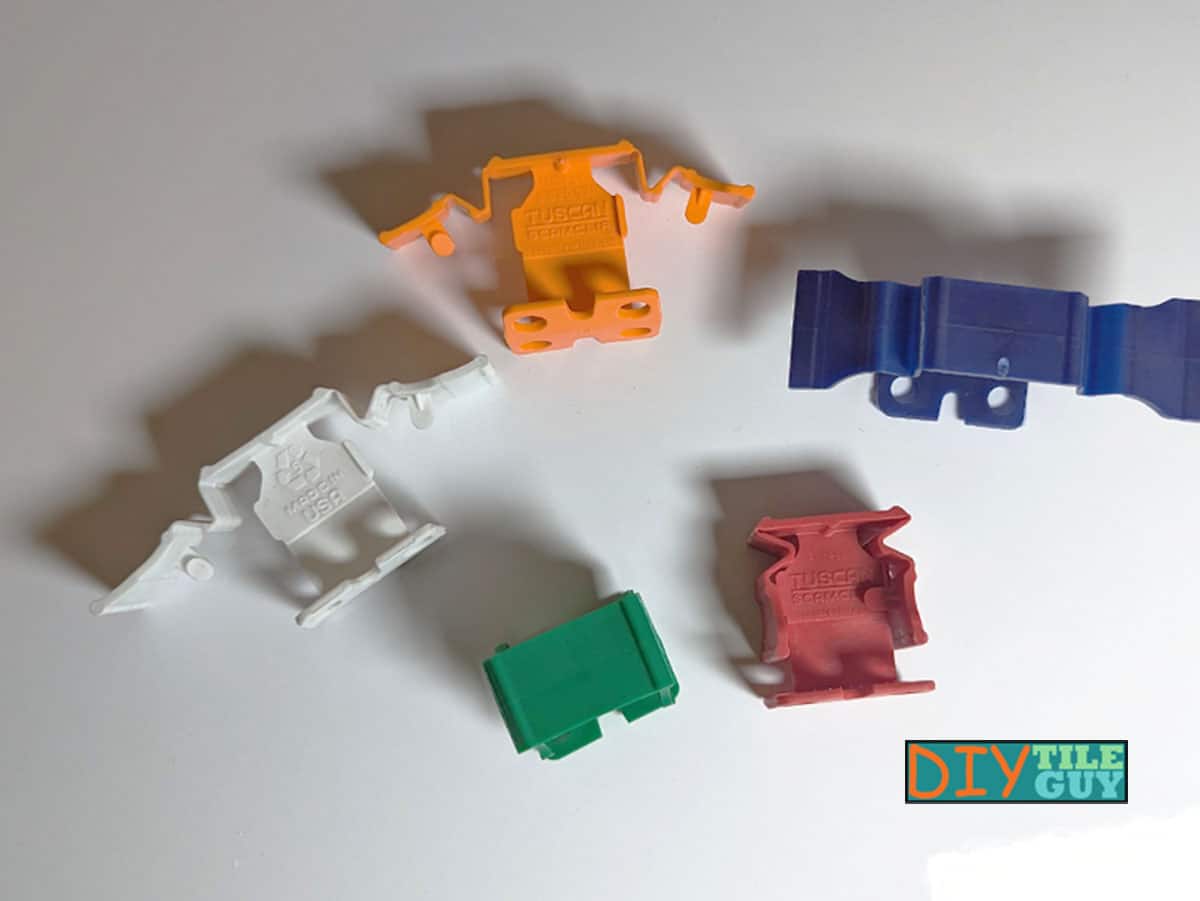
The reusable tile leveling systems are another all-in-one system. There are no separate caps and base plates. Instead, it’s all one piece.
As you would assume, these are completely reusable as they are inserted from the top, after the tile is in place.
Once the mortar is dry, it can be removed from the top and reused on the next project.
Pros
They’re reusable!
Also, they can be inserted from the top after the tile is in. Therefore, they could be used as a supplement to other systems or where the strap breaks prematurely during installation and you don’t want to pull the tile up and insert another base plate.
Cons
These types typically have a thin metal wire-like base that pulls up on the tiles. It doesn’t grab as far under the tile so if you have large grout joints they may not grab the edges of the tiles.
Additionally, I worry that the short metal “T” bar will chip the tiles if too much tension is applied.
Further, these can be difficult to remove when the mortar is dried around the base.
Tile Leveling Spacers
Some of these systems advertise that their clips will double as spacers. For example, you may need to purchase 1/8 inch baseplates if you were going to use them as 1/8 inch spacers also.
While using the spacers as baseplates can simplify things and speed up the installation there are a couple of drawbacks to doing so.
For one thing, using tile leveling systems as spacers can make them more difficult to remove, especially on a wall with the weight of many tiles stacked on top of them. Further, removal under that kind of tension could possibly chip the tiles.
Lastly, if you use them on another installation you would be locked into the same grout joint size for that installation or would have to order the correct size.
So, if you had 1/8 inch clips then you wouldn’t be able to use them for 1/16th grout joints.
What to look for in good tile leveling systems
Here are some things that you want in a tile leveling system:
- Tensioning power
- Straps that break cleanly
- Value
- Ease of Use
Good tensioning
A good clip system will demonstrate good power and not break prematurely during the tightening process.
Clean breaking
On the other hand, when it comes to removing the straps, you want them to break as cleanly as possible.
One of the biggest complaints with poor systems is that the straps don’t break cleanly, below the finished tile height. This leads to a lot of frustration and you can damage your tiles when you have to cut the straps with a razor knife.
Costs
Costs can vary quite a bit on these systems. In general, you get what you pay for but that doesn’t mean that value isn’t important.
Start-up costs
What goes into start-up costs are the costs of caps or wedges and a tensioning tool, if necessary. If you’re only installing one floor then these costs are much higher than if you will pro-rate the costs over 100 floors.
How many straps per tile?
In addition to the costs of the bases themselves, it’s important to figure out how many base plates you’ll need for your tile installation.
Some systems are designed to have one baseplate under the corners whereas others want you to keep the baseplates a couple of inches away from the corners.
Placing one under four corners will use much less than four under one corner.
See below for more on this and its drawbacks.
Ease of use
There are definitely things to take into consideration when it comes to putting these systems into use.
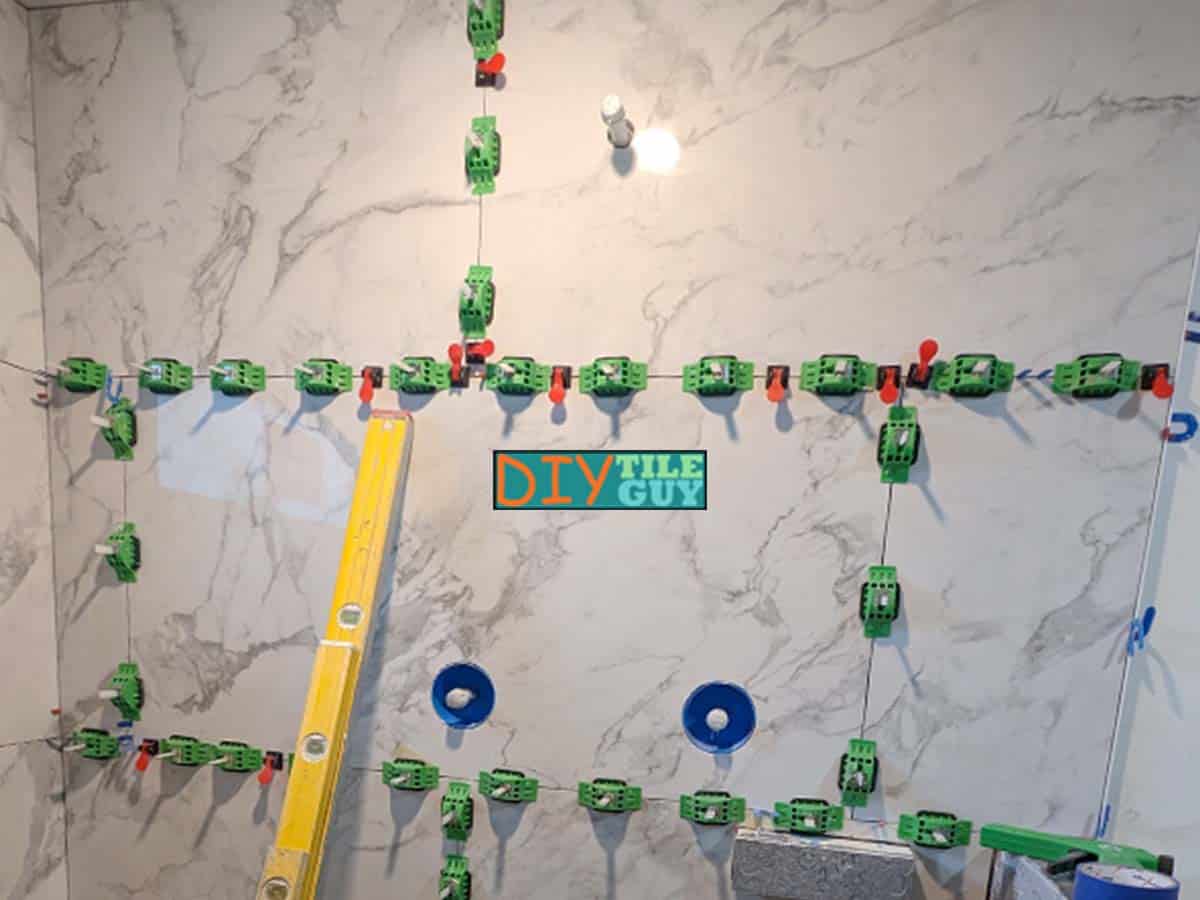
Tightening
How easy is it to tighten the caps or wedges? You may not need a separate tool to tighten them but how many days will your thumbs have to endure shoving wedges into the straps?
How big around are the spinners? Some of the ones that I see now have narrow spin mechanisms and could be difficult without a tool.
Removal of the caps
How easy is it to remove the caps or wedges? Did you know that some of the early systems wouldn’t let you remove the caps once they were installed?
So, if you needed to pick one of the tiles up again you would have to break all the straps and reinstall them all.
Additionally, some of the spinning caps can be time-consuming to spin out all the straps once they are removed. This may, or may not, be a big deal.
Thickness of the plates
Another common complaint with the cheaper systems is that the plates are too thick and are difficult to slide under the tiles.
Under the corners or under the edges
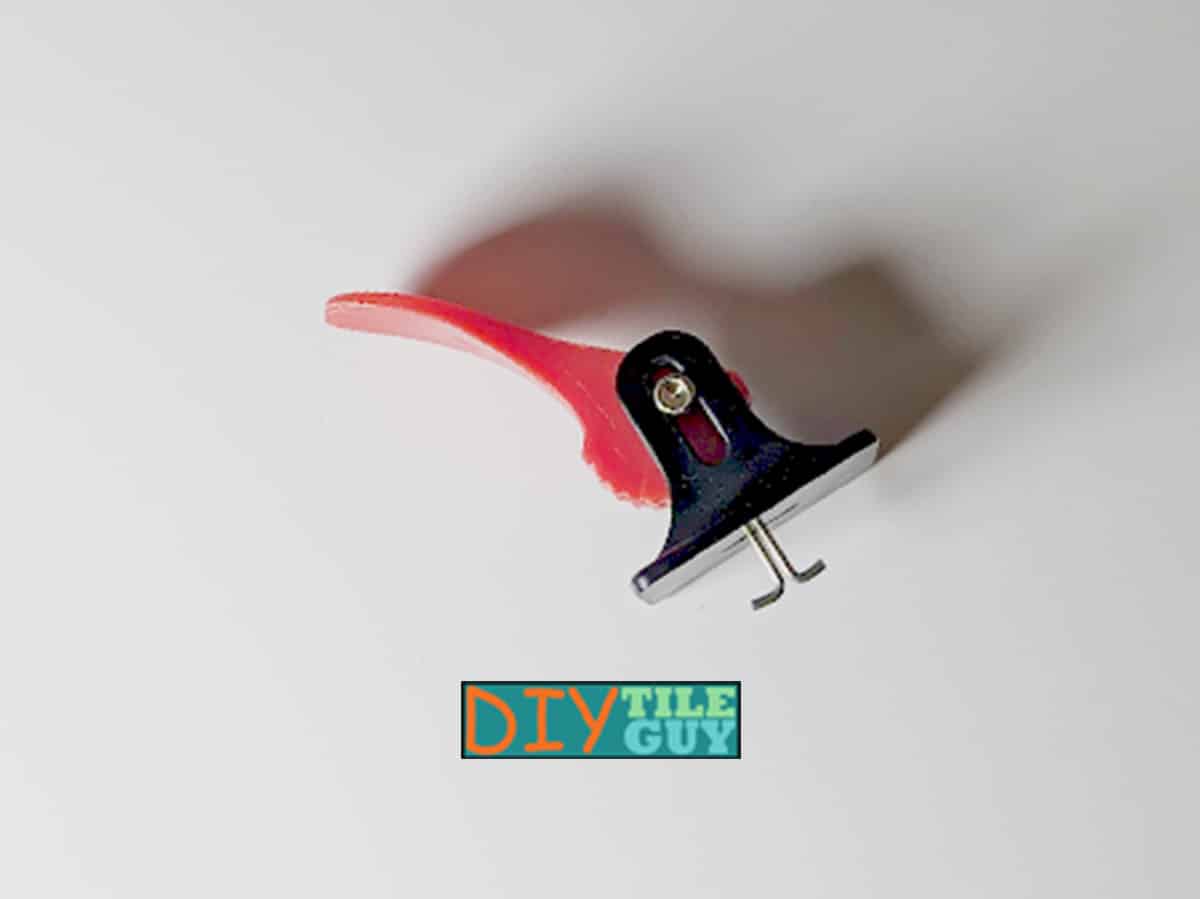
As mentioned above, some systems are designed to install one baseplate under 4 corners, or 3 corners with an offset pattern.
Other systems caution against this practice and encourage keeping them away from the corners by a couple of inches. But this means that you would use four baseplates for one corner!
It’s easy to write this off as a conspiracy that the clip manufacturer obviously wants you to purchase more of their product.
But there could actually be something more to this argument.
Leveling Clips under the corners
One of the most likely places for tile to crack is under the corners. This is particularly true if the corner isn’t supported.
This is also why good, conscientious installers make sure the corners of the tile are well-supported with mortar when they are installed.
So the concern is does installing a plastic piece under the corner of the tile create a weak point in the installation?
Opinions will differ on this and I think this is something to consider seriously.
Blocking the view of the corner
Another criticism of installing leveling clips on the corners is that the cap can block the view of the corners and you won’t be able to see if things are lined up properly.
While this is true in some cases, there are manufacturers that have designed their caps so the corner can be seen.
So, if you are thinking about purchasing a corner system you may want to look for this feature in the product that you purchase.
Wrap Up
While there are several tile leveling systems on the market they definitely are not all created equal.
Once cost, performance, local availability, and personal preference are all taken into account you can see why many people choose the different options that are out there.
What did I forget to mention? Ask your questions in the comments section at the bottom of the page.
Frequently Asked Questions about Tile Leveling Systems
Some tile leveling systems are designed to be used as a spacer so you would not need a separate spacer with this type of system.
Other leveling systems are designed purposely with thin straps so that you are able to use the same straps no matter which grout joint size you decide on.
While a tile leveling system may be compatible with small tiles they typically will be used with large format tiles
The leveling clips will need to stay in place until the mortar is completely dry and the tiles can be walked on.
Removing a broken leveling clip is a frustrating process that needs to be done with care. Usually, cutting the strap below the level of the tile can be done with a razor knife.
Tile leveling systems are different and you would need to consult the manufacturer’s instructions for the system that you are choosing to see how many they recommend and where they recommend placing them on the tiles.
References
- Fine Home Building: The Future of Tile is Big
Leave a Reply