Tile underlayment. There are a lot of different types of products that you can put under your bathroom floor tile.
But it’s confusing. Which product solves your problems?
Also, do you even need underlayment for your tile in the first place?
Let’s take a look and examine the situation further.
Estimated reading time: 10 minutes
Click to expand Table of Contents
Table of contents
Subfloors and Tile Substrates
Before we get into underlayments, let’s touch on what a subfloor is and which kind that you might have.
After all, different subfloors require different tile underlayments.
A subfloor is the structural component of your floor. Pretty much every subfloor is going to be one of two types:
- concrete or
- wood (plywood over vertical floor joists)
Concrete Subfloors
It’s perfectly OK to install tile directly over concrete with a thinset mortar.
However, the concrete needs to be both flat and without cracks. Unfortunately, that can be a pretty tall order for most concrete slabs.
Consequently, to ‘fix’ the concrete and make it flatter and/or address the cracking, you’ll need to install some sort of underlayment. That’s where this guide comes in.
Wood Subfloors
Unlike concrete, you can’t install tile directly on a wood subfloor. Rather, wood-framed subfloors need tile underlayment installed over them to be prepared for accepting tile.
Wood-framed subfloors also need to meet minimum structural requirements for ceramic tile floors.
If your floor is on a second story, you have a basement underneath, or you have a crawlspace, your floor is almost certainly a wood subfloor.
There are two common wood subfloors that you are likely to run into:
Plywood Subfloors
A plywood subfloor is installed directly over the floor joists. It should be 5/8ths or 3/4 inches thick and the sheets interlock via a tongue & groove system.
Further, the grain of the wood should be perpendicular to the floor joists.
OSB Subfloors
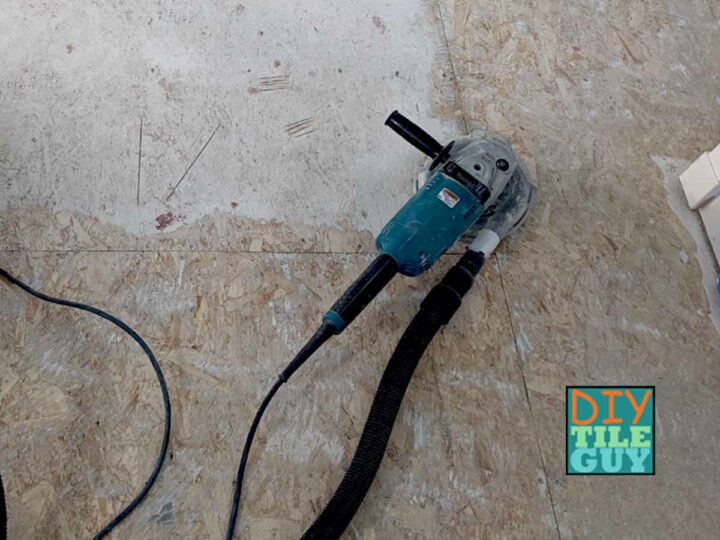
Oriented Strand Board is the plywood that you see that looks like it’s composed of big wood chips. This also is tongue & groove but should be 3/4 inch thick or better.
There are some products and/or thinsets that shouldn’t be used over OSB. You’ll have to check the individual product instructions to find out more information.
Other subfloors
If your subfloor is different than the ones I’ve mentioned above, for example, a wood-plank subfloor, then you’ll need to do a little more research before knowing if your floor meets minimum structural requirements for tile flooring.
So, with these basics out of the way let’s move on to tile underlayment.
Beginner’s Guide to Tile Underlayments
Underlayment for tile is simply something that goes in between the tile and the subfloor.
This post is going to cover the most common underlayments that people use. These include:
- Backer board
- Uncoupling membranes
- Crack isolation membranes
- Trowelable or pourable underlayments
- Plywood
Tile Underlayment Backer Boards
Tile backer board is the most common underlayment for tile. Backer board is installed over both walls and floors and can be used in both wet and dry areas.
There are several types and brands of backer board. This post is just going to cover the most common types.
Cement Backer Board
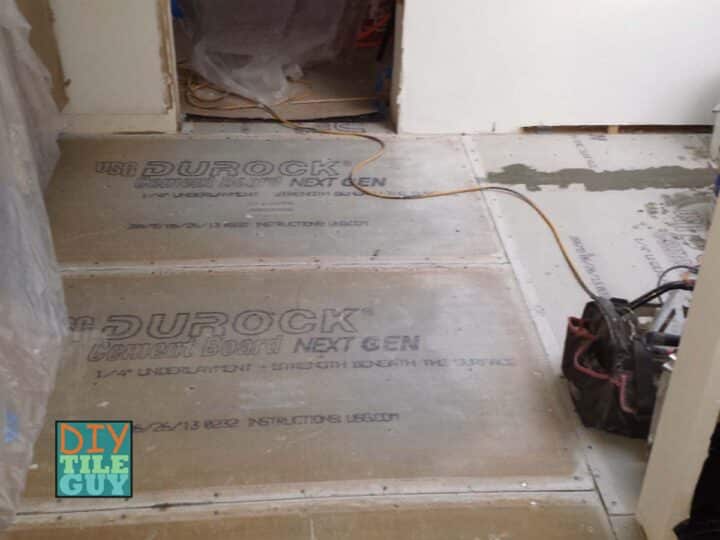
Overview: Cement backer board comes with a long history of successful installations. In fact, if you’ve done any tiling in the past the odds are that you’ve tiled over a backer board.
The way that you install backer board is you first trowel mortar over the subfloor then embed the backer board into it and fasten it down.
- Products: USG Durock; Custom Wonderboard; Hardibacker
- Pros: Tried & true; inexpensive, for both walls and floors
- Cons: Can be difficult to cut, weight, dust
Foam Backer Board
Overview: Newer on the scene are foam backer boards. These are lightweight, waterproof, and easy to cut.
However, the expense is what will keep most people away. For shower walls they can make a lot of sense but, for floors, most people will choose alternatives.
Unlike their cementitious cousins, foam tile boards can be installed over a concrete subfloor, if desired.
- Products: Wedi; Schluter Kerdi-Board; GoBoard
- Pros: lightweight; waterproof; cuts with ease, for both walls and floors
- Cons: Expensive
Other backer boards
Overview: You don’t necessarily have to tile over an underlayment designed for tile. For example, it’s perfectly OK to install wall tile over drywall in a dry area (like a kitchen backsplash).
Another common tile board that you will run into is Coated Glass Mat Water-Resistant Gypsum Backer Board aka Denshield, which is the most popular brand.
In DIYTileGuy’s opinion, this is a minimal product and should either be covered in a waterproofing product like Kerdi or simply select a different product.
- Products: Denshield; Sheetrock
- Pros: Can be easy to cut and install over
- Cons: Gypsum based; better alternatives
Tile Underlayment Uncoupling Membranes
Overview: It doesn’t seem like all that long ago that Schluter introduced their funny, waffled, plastic membrane that others mocked and sneered at.
But guess what? Ditra gets the last laugh as every other company now has an imitation alternative to Ditra for tile floors in their lineup.
Further, the ease of installing Ditra has resulted in many contractors choosing Ditra vs cement board for their floors.
- Products: Schluter Ditra; Laticrete Stratamat; Ardex Flexbone
- Pros: Lightweight; waterproof; easy to cut
- Cons: Minimum tile size;
Crack Isolation Membranes
As mentioned above, if you want to tile over concrete with cracks then you’ll need to put down a crack-isolation membrane (CIS).
It’s important to make a distinction between uncoupling and crack iso membranes. Some uncoupling membranes also qualify as ANSI A118.12 Crack Isolation membranes. But most don’t.
If a manufacturer is claiming their uncoupling membrane helps prevent cracks but it isn’t an A118.12 membrane then that claim should be taken with a grain of salt until proven otherwise. [1,2]
Crack-Isolation Sheet Membranes
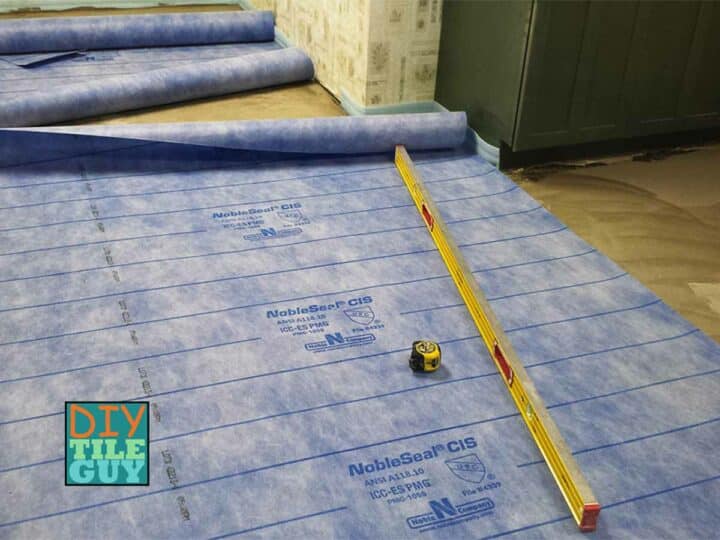
Overview: The sheet membranes are consistent performers. They install with either thinset, glue, or some are peel & stick with a primer.
- Products: Nobleseal CIS, Mapeguard CI, Custom Crack Buster Pro
- Pros: Proven performance, fairly easy to install
- Cons: More expensive than liquids, availability
CIS Liquid-applied membranes
Overview: Liquid crack-isolation membranes seem simple to install but it’s more difficult to apply a thick enough coat and have it be consistent throughout than one would think.
- Products: Custom Redgard, Laticrete Hydroban, Mapei Mapelastic
- Pros: Fairly inexpensive to purchase, widely available
- Cons: More prone to user installation error; dry time. Also, using liquid waterproofing for shower pans is a bad idea, in my opinion.
Trowelable/Pourable Tile Underlayment
Let’s face it: Your floor isn’t going to be flat enough to tile over. It doesn’t matter if it’s concrete or wood, very few floors meet the industry standards for flatness without some sort of manipulation by the tile setter.
That’s where these trowelable underlayment products come in. They are going to help you get a beautifully flat floor.
These products are typically used either prior to installing a membrane or on top of cement board that’s already installed.
Self Leveling Underlayment
Overview: Just the name ‘self-leveling underlayment‘ implies over-promise and under-deliver. But these ‘SLU’s’ are more and more necessary if you are installing large format tiles.
They can be pricey and they take a lot of setup and planning to pour them right. However, more and more these are the best choice for problem-solving.
- Products: Ardex Liquid Backer Board; Custom LevelQuik; Mapei Novaplan
- Pros: Can achieve a perfectly flat floor over wood or concrete subfloors
- Cons: Difficult to get perfectly flat
Trowelable Underlayment for Tile
Overview: Trowelable underlayments are used when you don’t want a surface level and it’s too big of an area to spot patch.
For walls, there are some products that would be used over backer board or concrete to flatten the vertical surface prior to tiling.
For floors, these products are sometimes used for ramping or sloping and sometimes to flatten a floor which would be difficult with a self-leveler.
- Products: Ardex AM 100; Planitop 330
- Pros: Don’t need to finish level
- Cons: Difficult to install
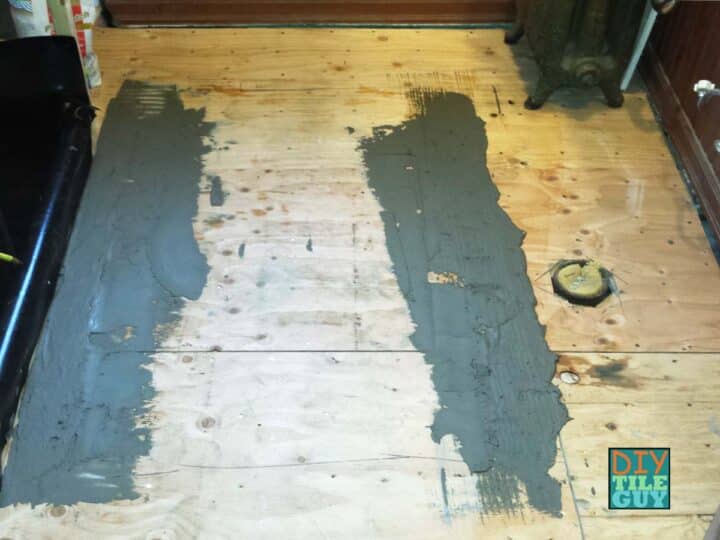
Tile Floor Patching Products
Overview: If you need to just spot-patch a couple of problem areas these floor patching products are a good choice.
On my Youtube Channel, I have a video showing how I raised one section of a bathroom floor so that it was flat with the rest of the floor using just a floor flattening product.
- Products: Ardex Feather Finish; CustomTech Silk
- Pros: Easy to trowel, fast drying, mix small batches
- Cons: Small areas only
Plywood Underlayment
First, let’s make a distinction between plywood subfloors and plywood underlayment.
- Plywood underlayment is a second layer of plywood that is installed ON TOP of your plywood or OSB subfloor.
This layer is commonly 1/2 inch thick and should be exterior-grade plywood. Not OSB. Not particle board.
The reason for installing an additional layer of plywood over your subfloor would be to
- Increase the height of the floor
- Add structural value to your floor (stiffen up)
- You are installing natural stone on your floor
While installing tile directly to this layer of plywood underlayment with a proper thinset mortar is technically OK, I would encourage you to consider otherwise.
It is DIYTileGuy’s recommendation to install an underlayment layer over your plywood underlayment.
A crack isolation membrane is thin and a good choice. But uncoupling membranes and backer board are perfectly OK also.
Wood is susceptible to movement and swelling due to water exposure. The addition of a proper tile underlayment is a welcome addition, IMO.
Tile Underlayment Comparison Chart
Plywood or OSB Subfloor | Concrete Subfloor | Floors Walls | Ease of Installation | Minimum Tile Size | Price | |
X | BOTH | MODERATE | NO | $ | ||
Foam Backer Board | X | X | BOTH | EASY | YES | $$$ |
X | X | FLOORS | EASY | YES | $$ | |
Crack Isolation (sheet goods) | X | X | FLOORS | EASY | NO | $$ |
Crack Isolation (Liquid-applied) | X | BOTH (WATER PROOFING ON WALLS) | MODERATE | NO | $ | |
X | X | FLOORS | DIFFICULT | NO | $$-$$$ | |
Trowelable Under layment | X | FLOORS | DIFFICULT | NO | $$-$$$ | |
X | X | BOTH | MODERATE | NO | $-$$ |
FAQ about Tile Underlayments
For the majority of applications, some type of underlayment will likely be necessary before tiling.
Tile installed with a thinset mortar meeting ANSI A118.11 will adhere to exterior grade plywood. However, you should never install tile directly to plywood subflooring. A plywood underlayment installed over plywood or OSB subflooring would be acceptable.
You do not want to install tile directly over an OSB subfloor but you can install an underlayment first then tile over that
Tile underlayments come in a variety of thicknesses. The one that is best to use will depend on several factors including tile that is being installed, substrate, budget, and application.
Schluter Ditra is a tile underlayment that is famously colored orange to go with Schluter’s brand colors.
There are several tile underlayment alternatives to cement board listed above in this post
Cement board is one particular type of tile backer board. There are also other types like fiber cement board, foam backer board, and coated glass mat water-resistant gypsum backer board.
Ditra can be installed in conjunction with some other tile installation underlayments such as cement board.
The best underlayment for a tile floor will depend on the subfloor, the tile being installed, and the person installing the tiles.
References
- https://www.fcimag.com/articles/85401-beyond-crack-isolation
- https://www.ansi.org/
