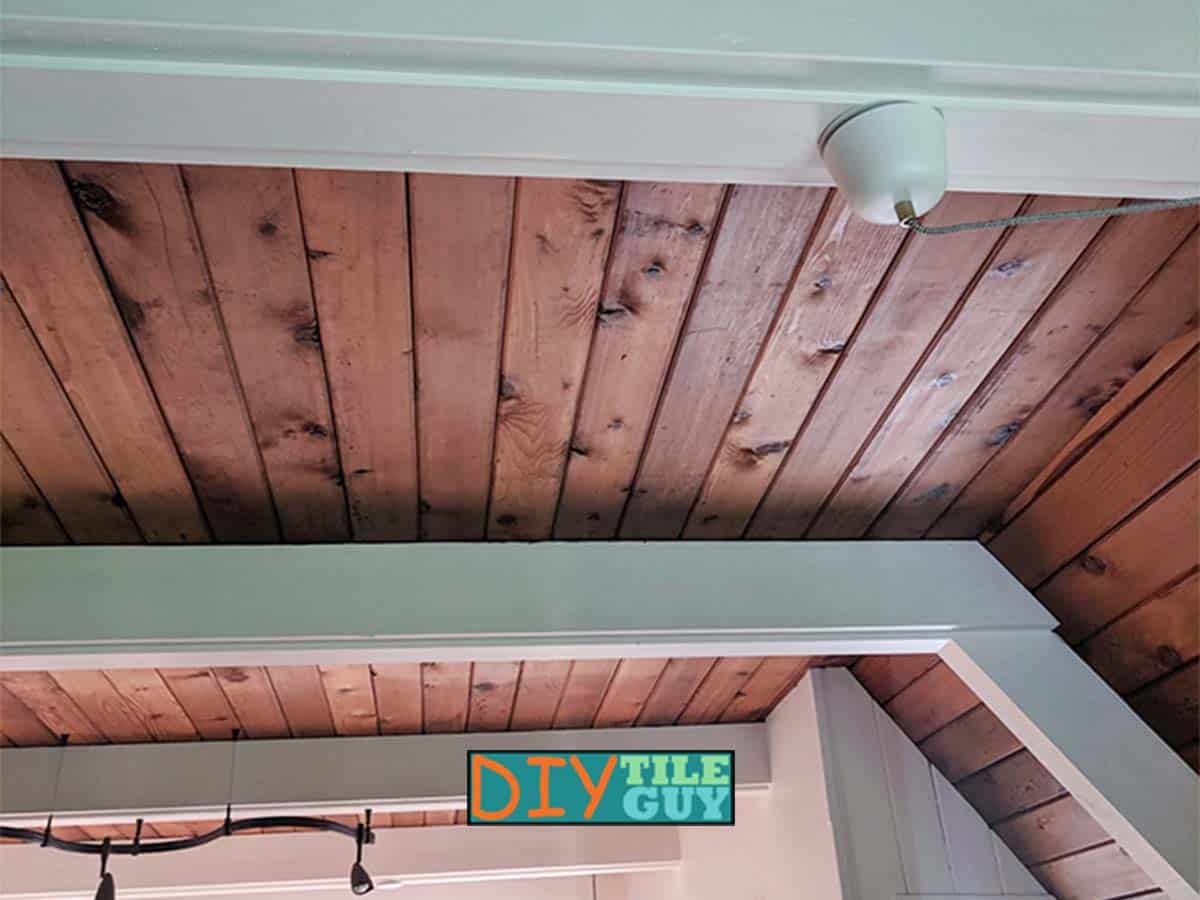
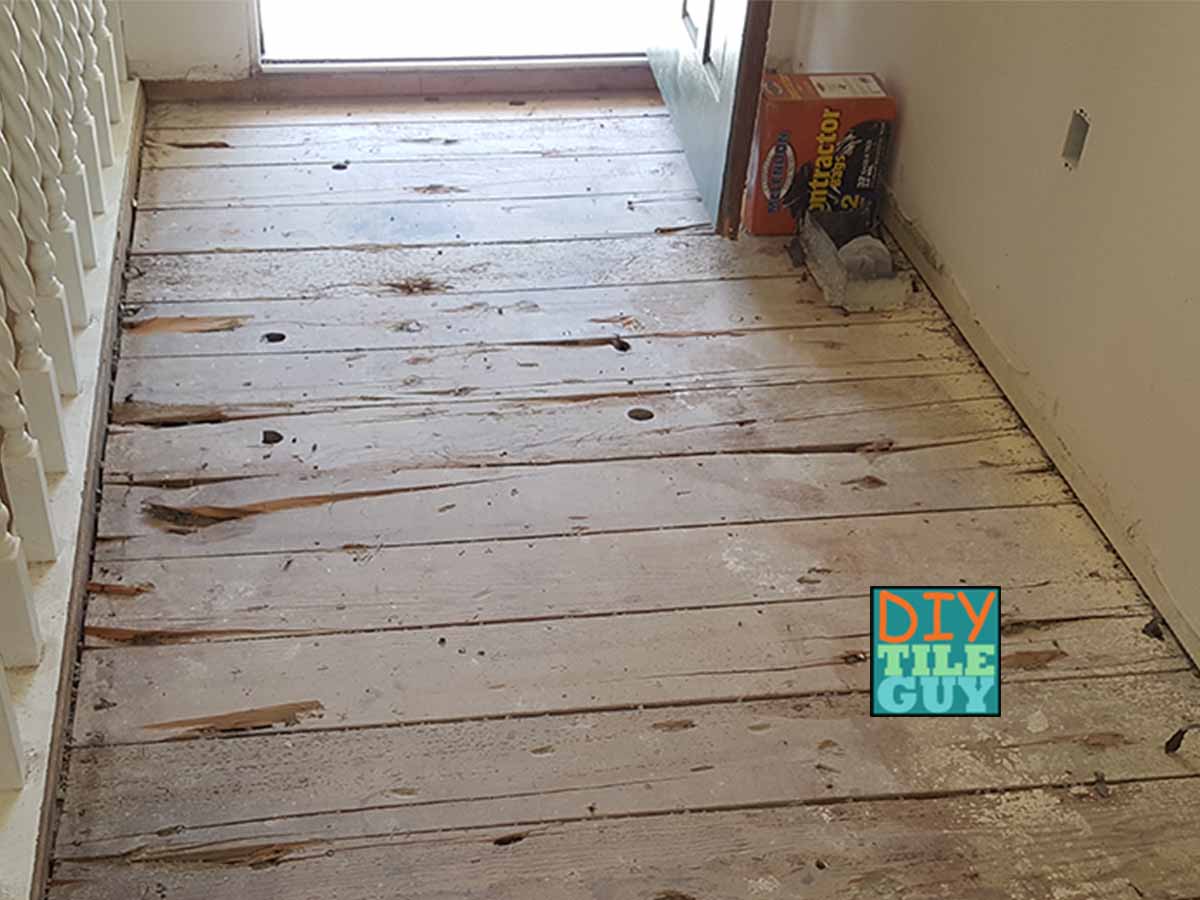
You’re renovating your home and found weird planks over the floor joists instead of plywood.
What do you do now? Are your hopes of installing tile floors now shattered? Are you going to have to settle for *gasp!* LVP flooring?
Take a deep breath. Here are some ways you can prepare your floor for tile.
Estimated reading time: 7 minutes

Two options for installing tile flooring over your wood plank subfloor
Basically, there are two directions that you can go.
- Install plywood over the plank subfloor
- Remove the planks and start over with new plywood
Let’s tackle each of these options.
First, I want to mention that your floor needs to meet the minimum structural requirements to support a tile floor. More on this below.
Option 1: Install plywood over your wood plank subfloor
This would be the least labor-intensive and the least costly.
However, some conditions must be met along with some drawbacks that you should understand.
Not all wood plank subfloors are the same
Firstly you have to determine what you have for planks and joists. Let’s start with the planks that make up the floor.
Definitions:
- Planks: This is what I’m calling the flat surface of your floor. They are usually 3/4-2 inches thick and no more than 6 inches wide. Where others have a plywood subfloor, you have planks.
- Joists: These are underneath the floor and placed vertically. These are what the planks are fastened to.
Your planks need to meet these two requirements:
- They need to be at least 3/4 inch thick and in decent condition.
- They need to be tongue & groove
If your structural planks meet both of these conditions and your floor structure meets the minimum requirements, then you can feel confident that you can add a layer of plywood over the floor and be ready for tile.
However, if your floor does not meet these two requirements, then you’ll have to move on to option 2.
Wood plank subfloors and 16-inch joists
If you have tongue and groove planks above 16-inch floor joists, then the ANSI standard says that you can add a layer of 1/2-inch plywood underlayment over the planks, and that will get your floor structurally ready to tile.
From there, you typically add a tile underlayment and begin tiling, although technically, it is within industry standards to tile directly to the plywood layer.
Wood plank subfloors and 24-inch joists
ANSI gives no guidance beyond 16-inch joists. However, the Schluter Ditra Handbook allows for 1/2-inch plywood underlayment over planks and 24-inch joist spacing as long as you use Ditra or Ditra XL over the plywood.
Structural plank subfloors and 48-inch beams
I see no official industry guidance when it comes to the 48-inch beams. However, I’ll tell you a personal experience that I had with this type of subfloor.
I was working in a bathroom and uncovered this type of subfloor: 4×8 beams spaced 48-inches on-center with 2×4 tongue & groove plank subflooring installed over them.
Since I had already stocked one manufacturer’s installation products at this residence, I called the local representative to see what he thought.
After describing this project to him, he later got back to me and said that this company was comfortable with the fact that their products would perform adequately for this application, with the addition of 1/2-inch plywood underlayment and this company’s uncoupling membrane.
What does this mean for you?
There isn’t going to be a tried & true guideline for every situation out there. Picking a brand of installation products and using that company’s technical help is something that you may have to do.
This is why it’s important to buy from reputable companies and authorized dealers. That imitation product on Amazon isn’t going to provide any help when you need it.

What type of plywood can be installed over structural plank subfloors?
ANSI standards spell this out:
Plywood Underlayment, C-C plugged Exterior. 15/32 (12mm) minimum thickness [1]
Let’s put this in English: C grade, 1/2 inch exterior plywood. Keep in mind that this is for residential applications.
Installing plywood
The plywood should be installed across the joists so that the direction of the face grain is perpendicular to the floor joists.
Fastening the plywood underlayment
For fastening the plywood, ANSI standards say to glue the plywood down to the planks below and use 4d ring shank nails every 6 inches on the seams and 8 inches in the field. Additionally, you want to stagger any seams.
Personally, I would rather use wood screws instead of nails, and there is some debate over whether gluing the plywood down is the best way or not.
Since you are using 1/2-inch plywood, your fasteners should be at least 1 1/4 inches long, but not so long that they fasten into the floor joists.
Further, Schluter’s Ditra Installation Handbook has some good drawings and information on fastening a second layer of plywood subflooring [2].
Floor Height and Transitions
Remember above I said there would be some drawbacks? Well, floor height is often the main one.
Adding an additional layer of 1/2-inch plywood underlayment is likely to raise the tile floor above neighboring floors, resulting in an uneven floor transition. Floor height can also be an issue when installing marble floors.
If this is a deal breaker, then read on to option 2.

Option 2: Remove the planks and install plywood over the floor joists
Another option is to remove the wood plank subflooring and install a proper layer of plywood subflooring like you would if you were building a new house.
This may be your only option if your plank subfloor isn’t T&G or if the additional floor height just isn’t going to work for you.
However, this might not be as simple as it seems because you need to consider your floor joists.
Floor joists
Your floor joists matter, and you may not realize that a lot of these old wood plank subfloors don’t have floor joists where you think they’d be.
It’s not unusual to have the joists spaced a good distance apart. Often 24-48 inches apart (on center).
Here are some things to consider depending on your floor joist spacing.
16-inch floor joists
If you find you have floor joists every 16 inches (on-center) underneath your wood plank subfloor then you are in good shape.
Yes, they still need to meet minimum structural requirements to be suitable for ceramic tile flooring.
24-inch joist spacing
This is a pretty common spacing underneath structural wood plank subfloors. You have beefy joists and they are 24 inches on-center.
In this situation, you can add 3/4 inch plywood (or OSB) over the joists and cover it with some cement backer boards or Ditra XL.
Alternatively, if you are willing to add a layer of 3/8-inch plywood (minimum) on top of the 3/4-inch, this would open up additional underlayment options, such as 1/8-inch thick Ditra and other membranes.
48-inch joist spacing
48-inch ‘joists’ are actually more like beams that are every 48 inches. This is a pretty common configuration with structural plank subfloors.
The ‘car decking’ planks are typically 2X4 or 2X6 tongue & groove.
If you are going to remove the structural wood planks and replace them with plywood, then you will have to add floor joists in between the beams every 16 inches on-center. The joists will likely need to be 2×6 or wider.
Then you can add 5/8-inch C-C exterior plywood, but I would rather see you up it to 3/4-inch.
Getting past your wood plank subfloor
Once you’ve moved forward with your plan, you can move on to selecting a tile underlayment option.
References
- ANSI 108.01; 3.4.3: Wood Subfloors; Requirements for Carpentry for EGP (Exterior Glue Plywood) latex-portland cement mortars A108.12 (2019)
- Schluter Ditra Installation Handbook; Floors, Interiors – Structural Plank Subfloor [D-SP-TS]